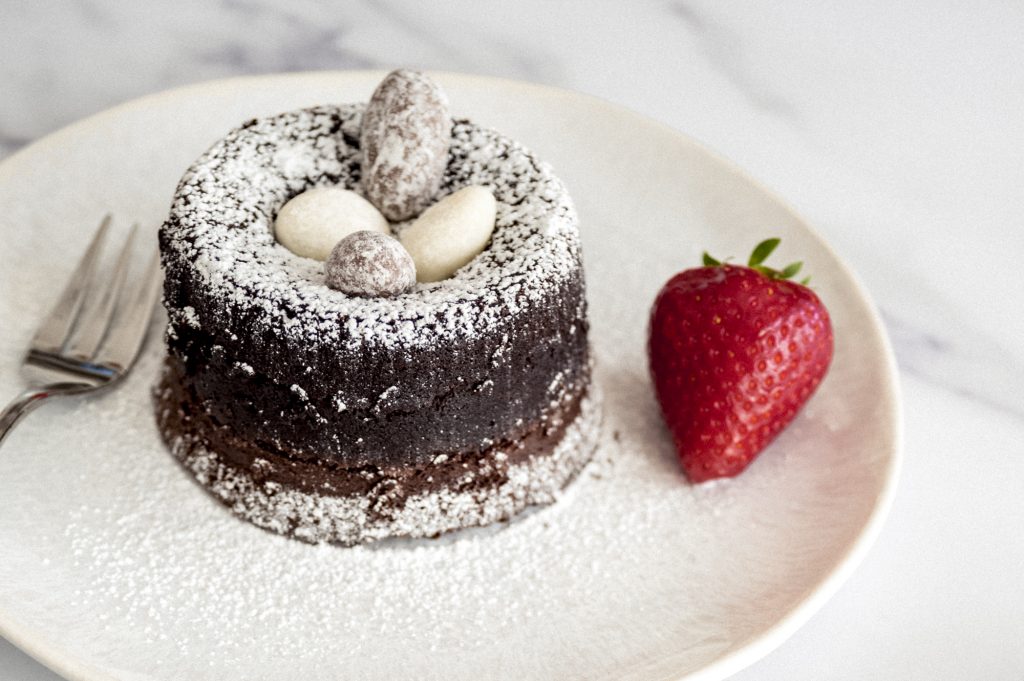
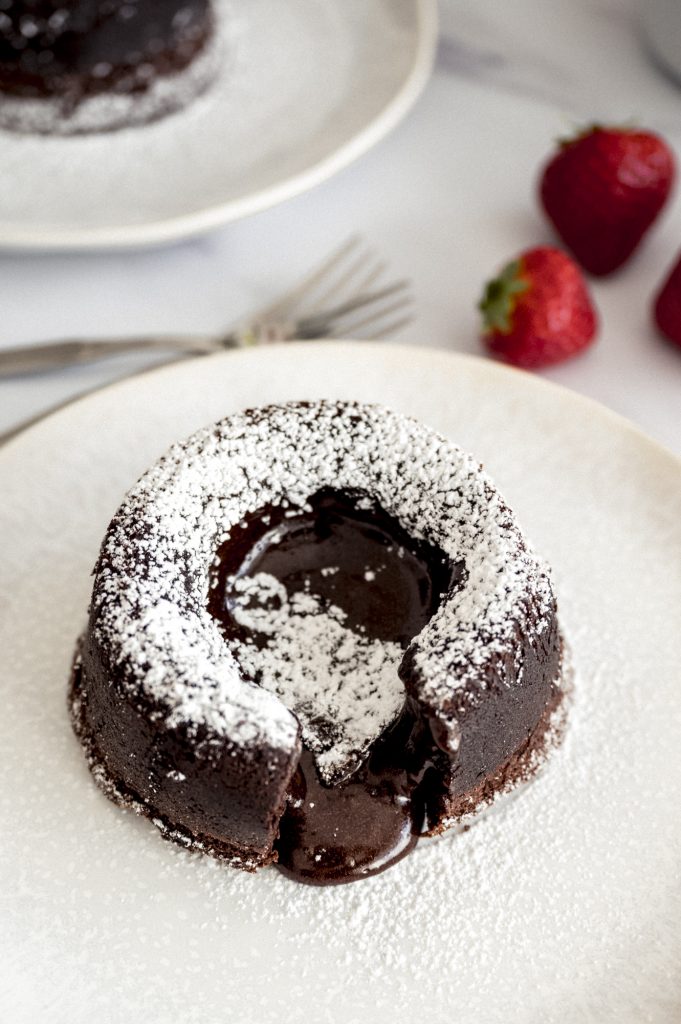
These little Chocolate Lava Cakes are simply incredible. Solid on the sides with a center of warm, liquid chocolate that flows like lava when you slice the cake. So rich and decadent.
Best of all: you don’t need any special tools for making these cakes, not even a mixer. All you have to do is mix the ingredients together, pour into your ramekins and bake.
Tools & Equipment
- 4 ramekins
- Medium bowl
- Silicone spatula
- Small bowl
- Whisk
- Wire rack
Recipe Tips
Make Ahead: you can prepare the batter easily in advance. Just do everything except baking. Cover the filled ramekins with plastic wrap and store in the fridge. Take the ramekins out of the fridge 2 hours before you want to serve them and allow the batter to come to room temperature. Remove the plastic wrap and put them in the oven. Continue with step 9 of the recipe instructions.
Done Baking: this cake has a liquid center, which means that you cannot run the typical toothpick test in the center of the cake. In this case it is necessary to insert the toothpick closer to the edge. A few moist crumbs should stick to the toothpick when you pull it up. Don’t overbake your lava cakes, take them out of the oven a bit earlier than you think, because they continue to bake as they cool. By baking the cakes too long, the center will be less liquid.
Cooling Time: once you take the little cakes out of the oven, let them cool for exactly 20 minutes. This is essential and key for a perfect lava cake. Less than 20 minutes: your cakes may break apart when you release them from the molds. More than 20 minutes: the liquid center gets more and more solid and at some point solidifies.
Directions – How to Make a Chocolate Lava Cake
Preheat the oven to 177°C / 350°F, grease 4 ramekins with nonstick spray and set aside. Weigh all your ingredients.
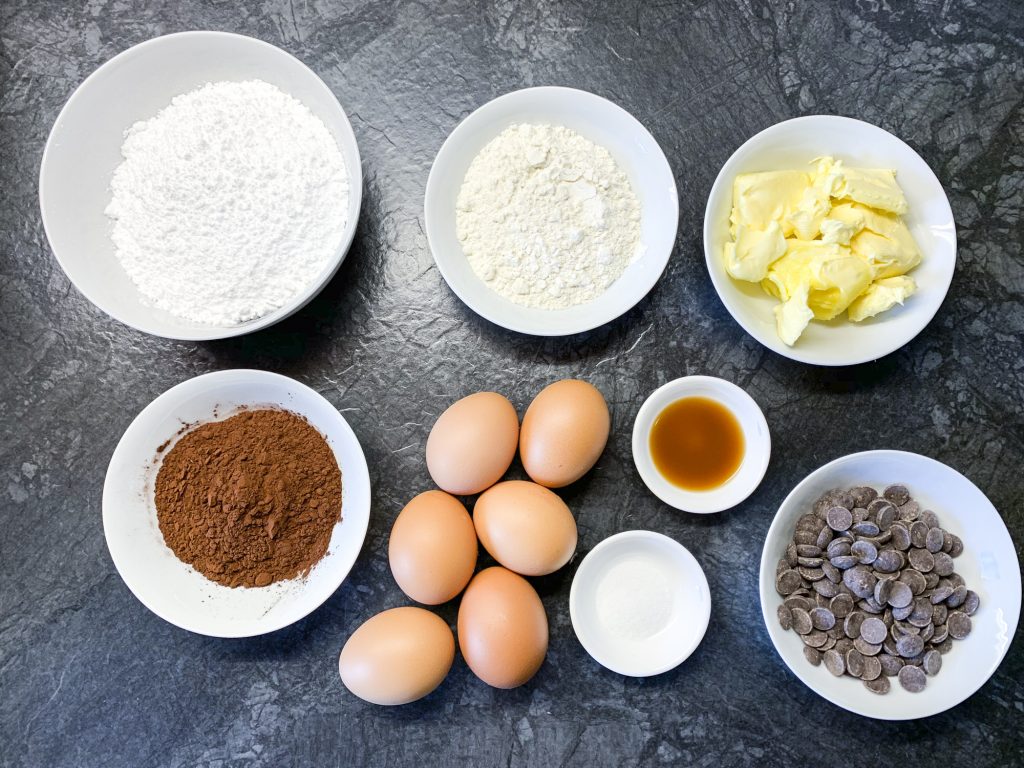
Place butter and chocolate chips in a small microwave-safe bowl and microwave in 30-second intervals, stirring in between. Repeat until butter and chocolate are completely melted. Add the powdered sugar and whisk until smooth.


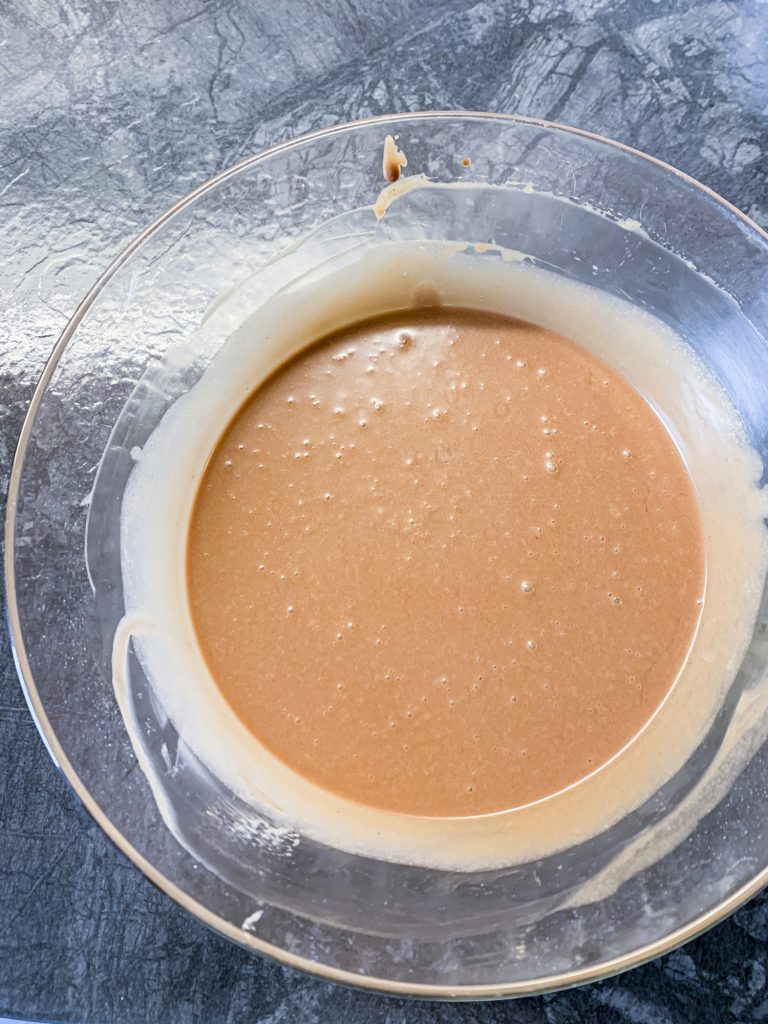
Stir in the eggs and the egg yolk one at a time until they are completely incorporated. Then add the vanilla and mix again.

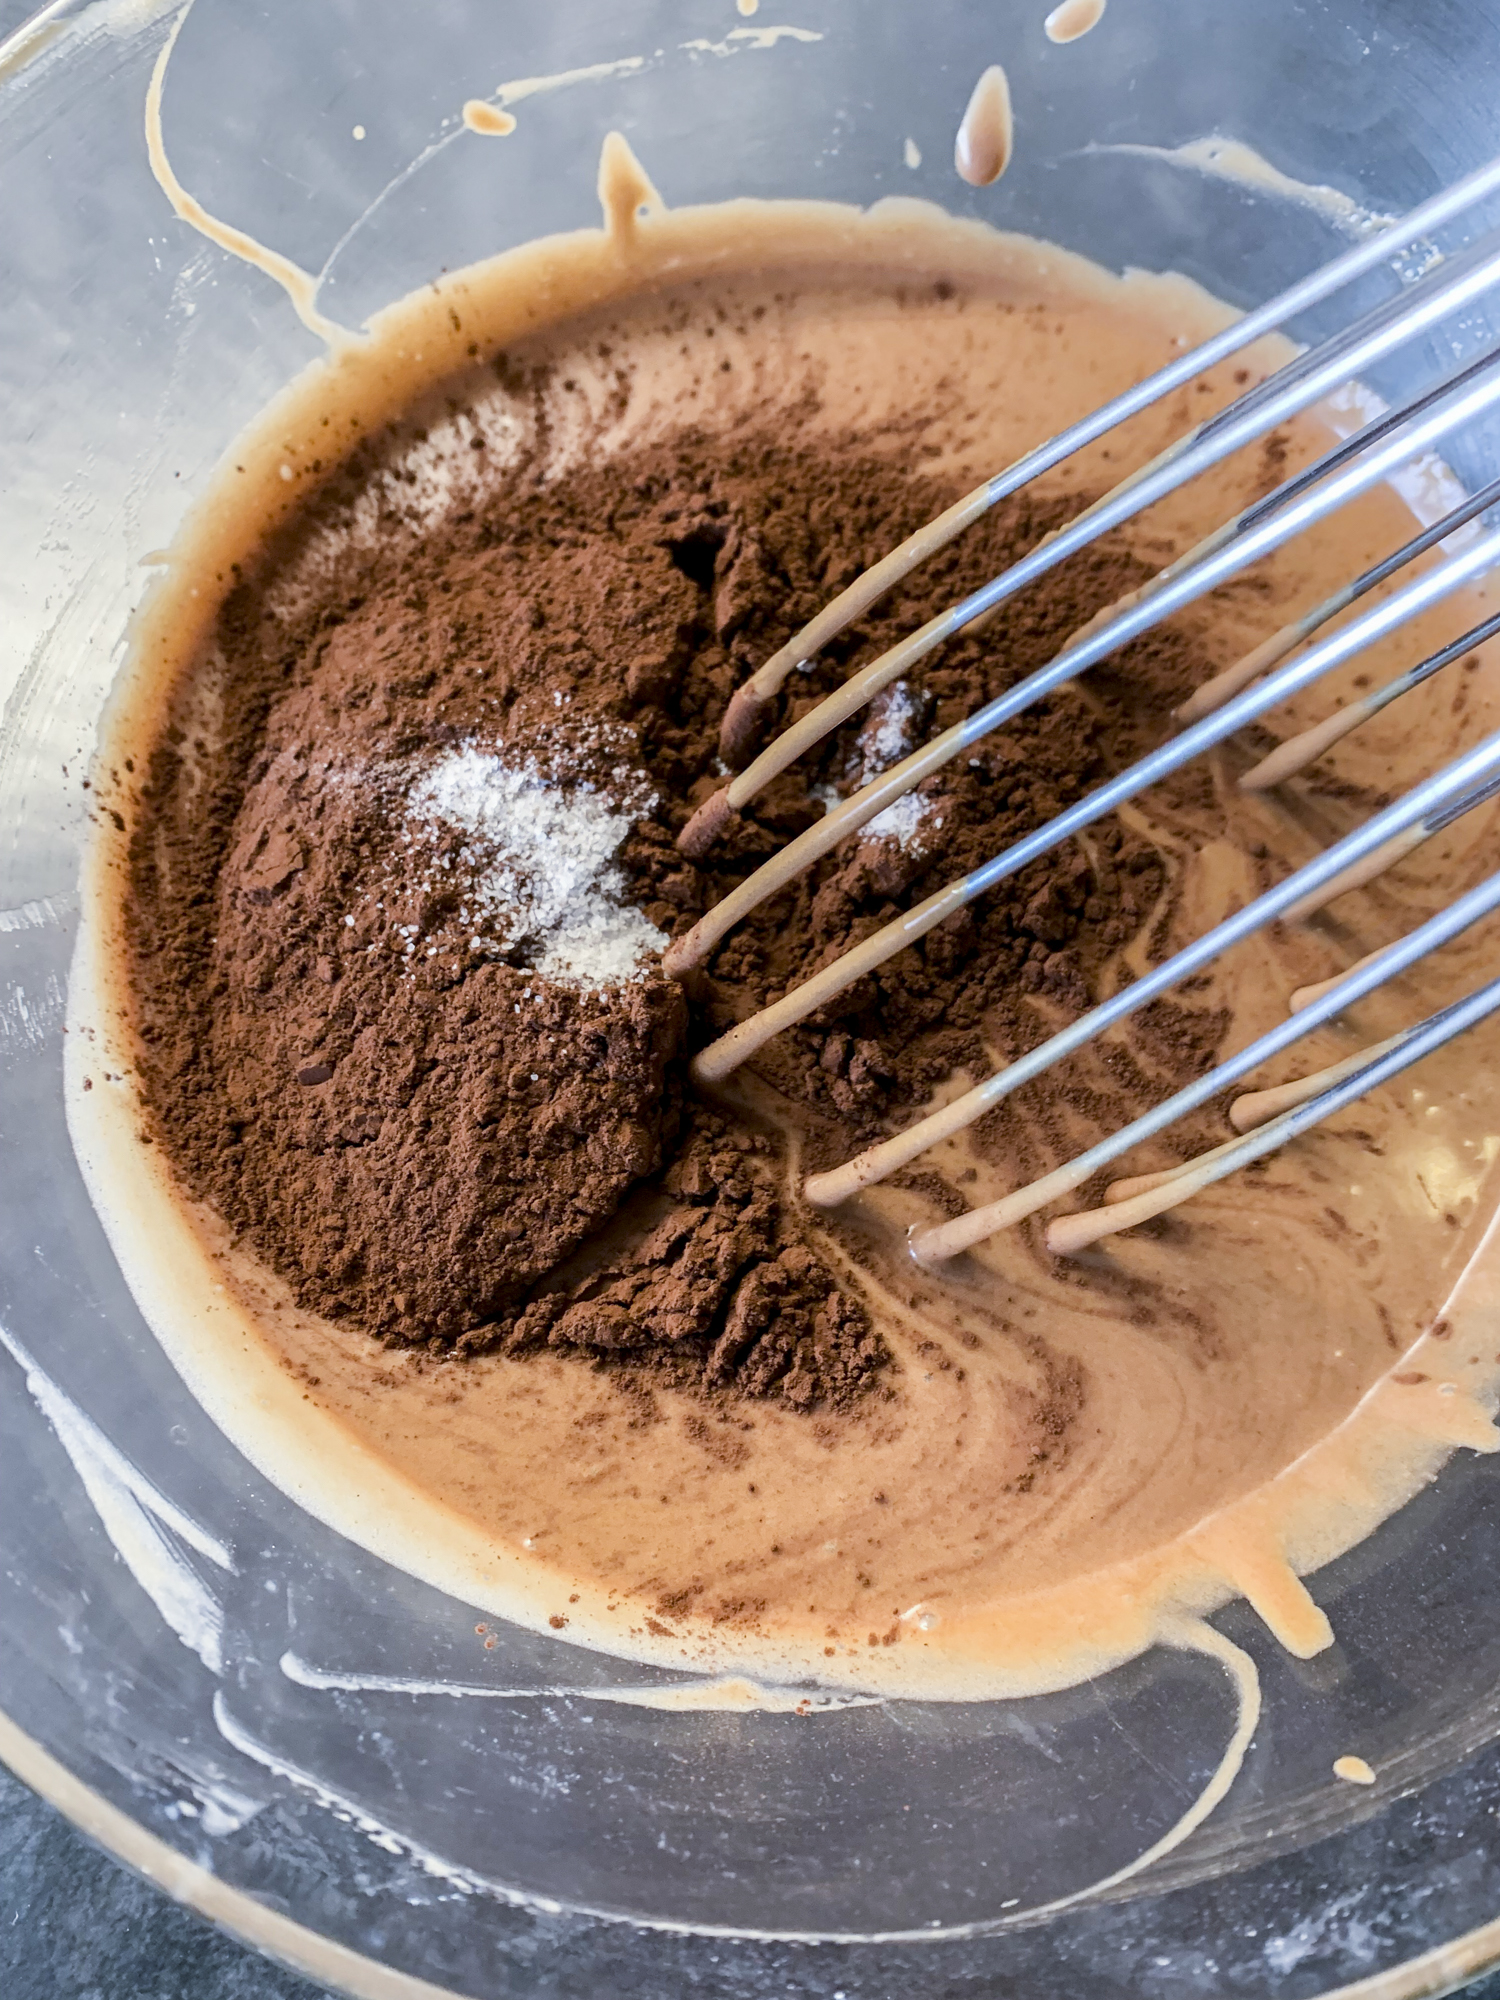
Stir in the flour. Add the cocoa and salt and stir until everything is fully combined.


Transfer the batter into the ramekins and bake for 16 to 20 minutes or until the cake is set around the edges but still jiggly in the center.

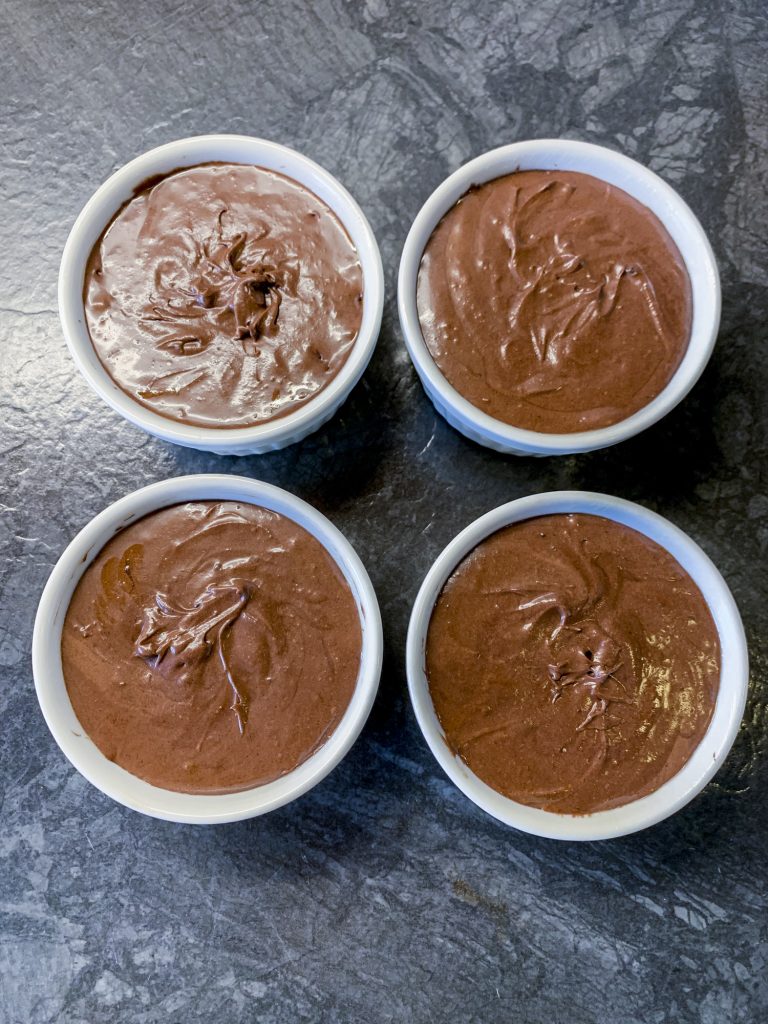
They are done when a toothpick, inserted around the edges, comes out with a few moist crumbs. The tops may look a bit soft. Let the chocolate lava cakes cool for 20 minutes.

Use a small knife to cut along the sides of the ramekins. Flip the baked lava cakes carefully upside down onto plates. Dust with powdered sugar or add toppings you like best & ENJOY!
Storage: you can keep the unbaked batter in the fridge for up to 3 days. Freezing: you can freeze these cakes after baking, although I do suggest that you bake them fresh, because thawing and reheating does not provide the same result compared to coming straight from the oven.

My Summary for Chocolate Lava Cake
Difficulty: simple.
Taste: this cake does taste soooooo chocolaty! WOW!
Texture: the sides of the cake are firm, the center is filled with liquid warm chocolate (as long as you do not let the cake get too cold).
PROS: the batter is quickly prepared and can be stored in the fridge for a few days. By filling the ramekins in advance, the batter is directly portioned and you can take the desired amount out of the fridge whenever you like, bake and enjoy directly.
CONS: it is impossible to eat more than one portion of this cake because it is so rich 🤣.
