Canelés are a french pastry from Bordeaux seasoned with rum and vanilla. They have a soft and tender center and a dark, thick caramelized crust. A canelé has the shape of a small striped cylinder with a depression on the top. This unique shape is the result of baking in a special mold, which is traditionally made of copper. I love canelés, especially because the texture and taste are different and special, something you don’t usually have every day.
I use copper molds which I bought in Paris. They are more expensive, but I think that they are worth the money if you want to make canelés more often. The cheaper alternative is a silicone mold, but I believe that color and texture of the canelés are a lot nicer with a copper mold. But in the end everyone has to make their own decision.
Tools & Equipment
- Copper molds or silicone molds
- Egg separator
- Fine-mesh strainer
- Instant-read thermometer
- Liquid measuring cup
- Medium airtight container
- Medium saucepan
- Quarter sheet pan
- Pastry brush
- Plastic wrap
- Silicone spatula
- Whisk
- Wire rack
Recipe Tips
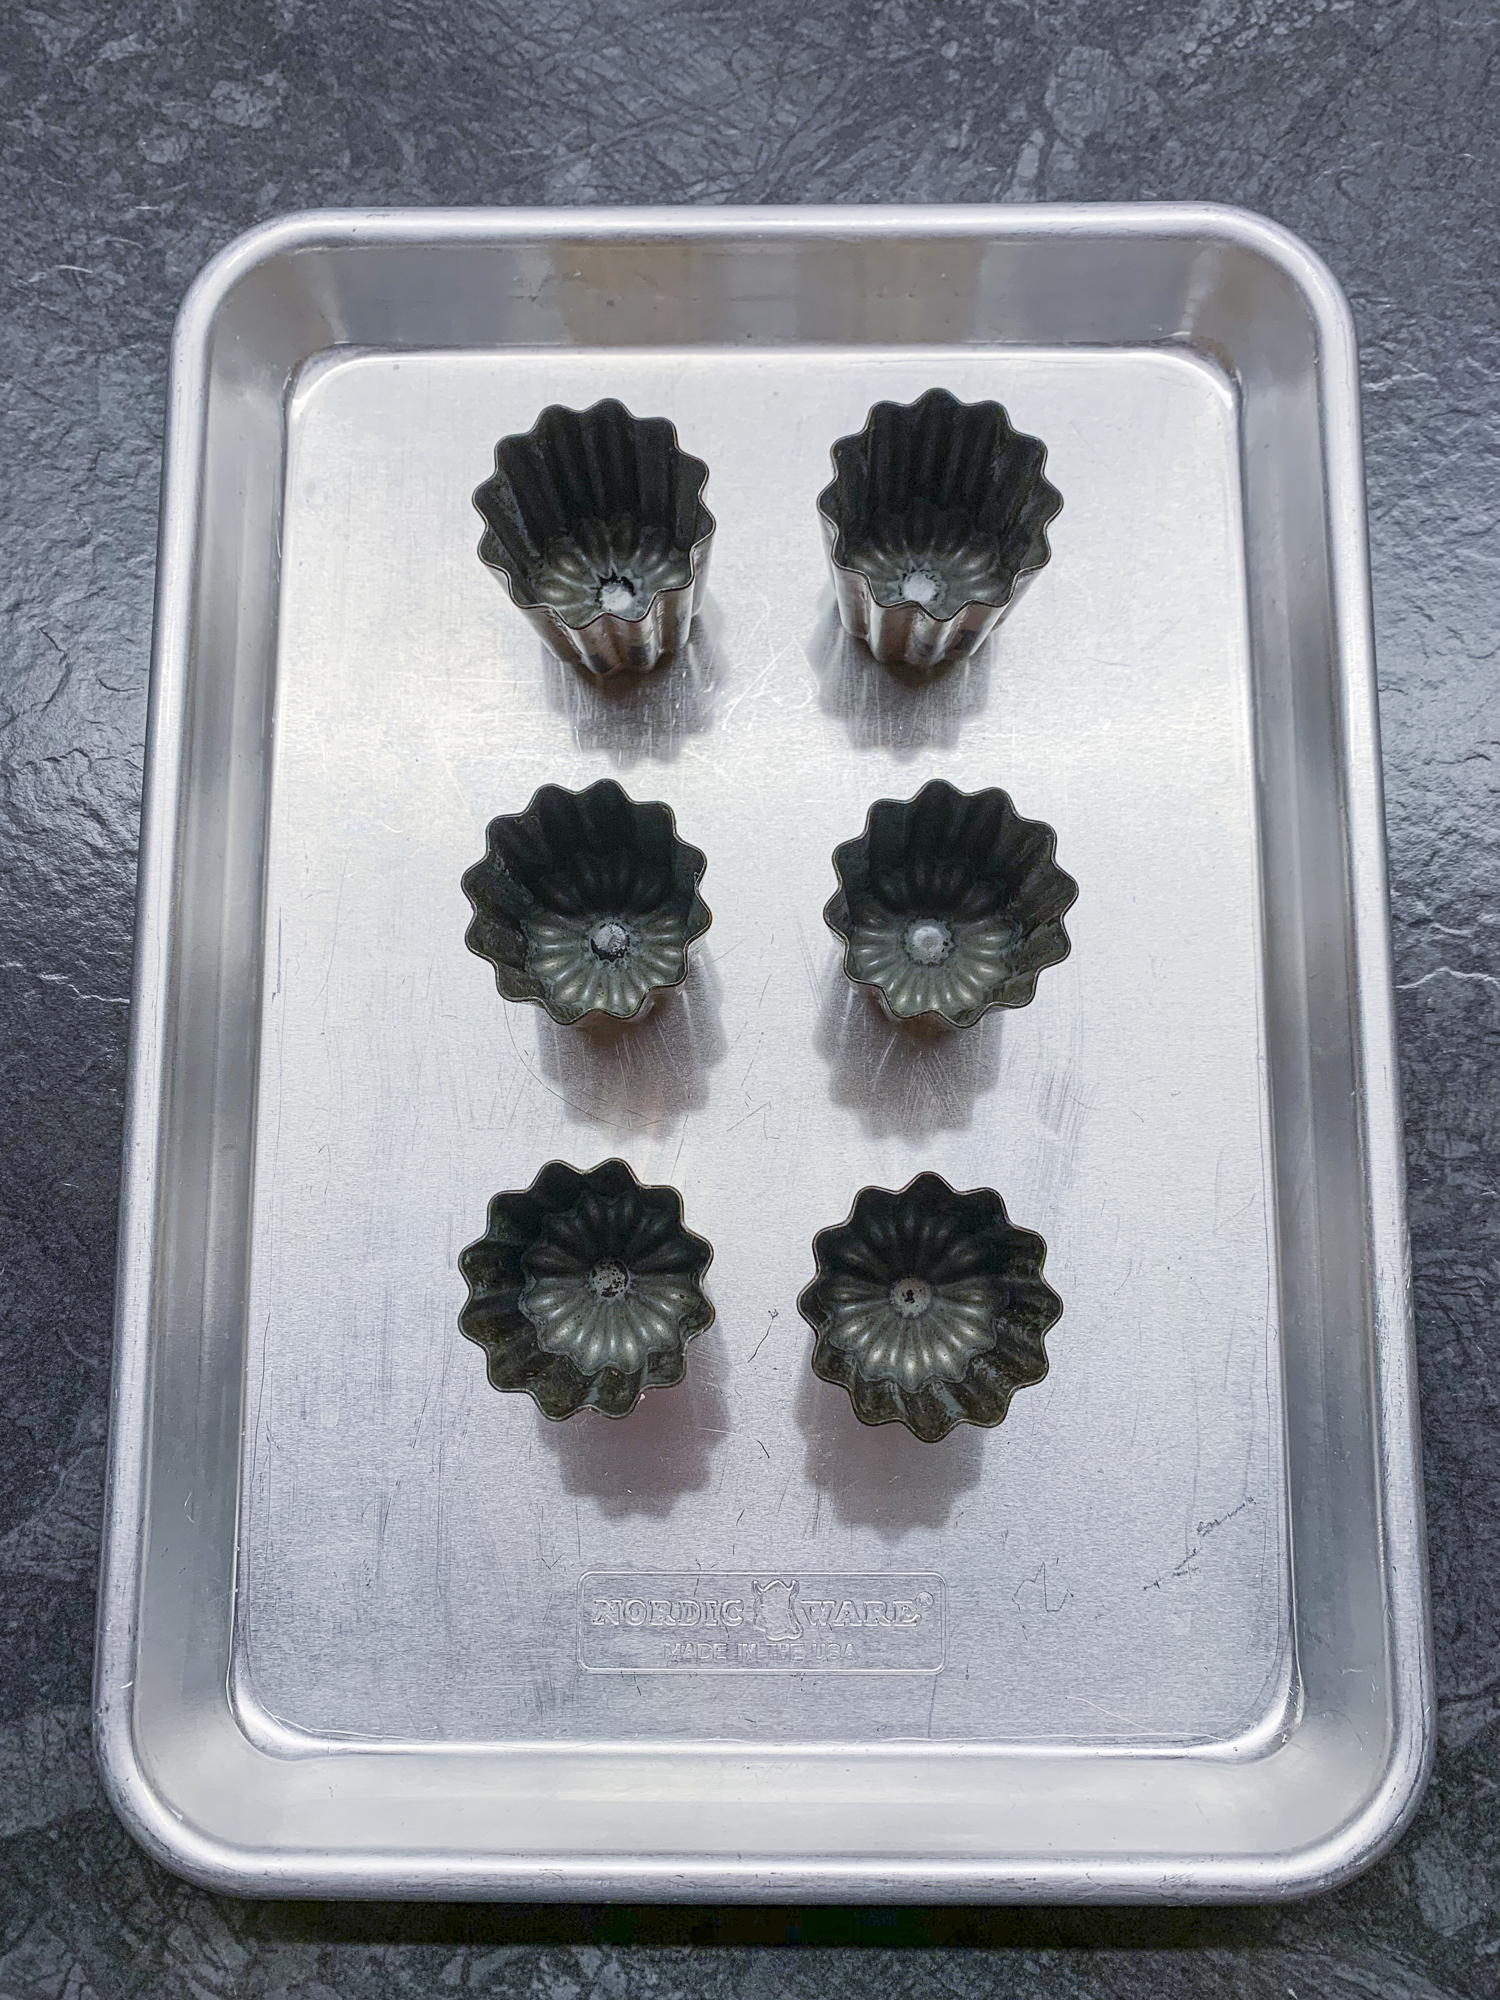
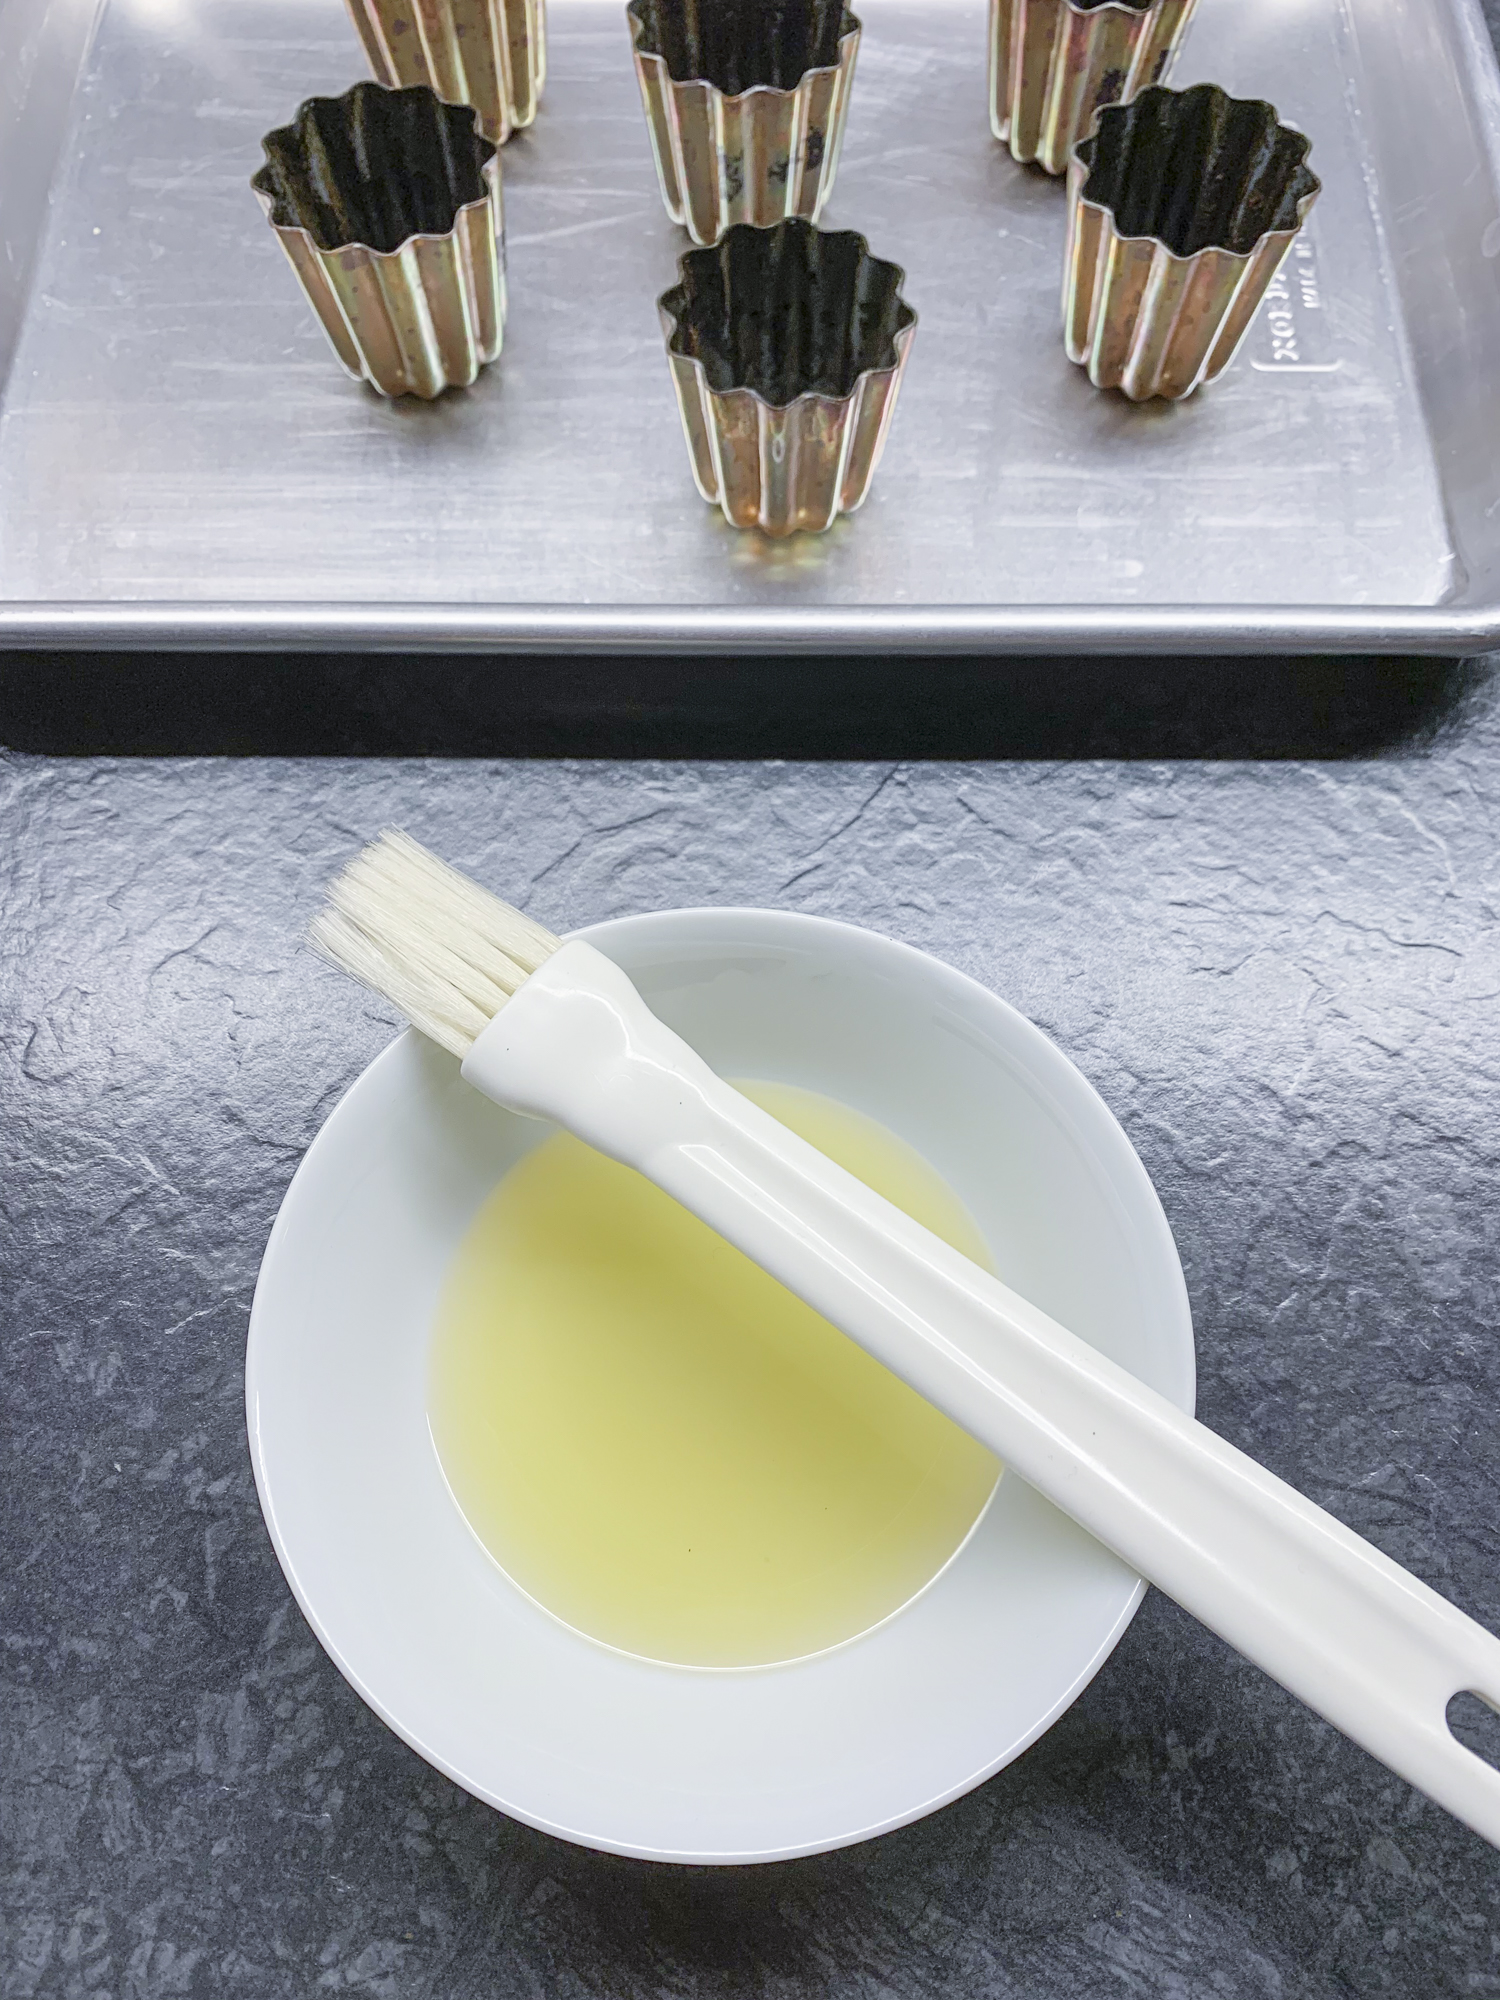
Copper Molds: when you use copper molds, it is important to season them properly. The traditional way is to use beeswax, which you can buy online or in health food shops. The wax is available in blocks or chips. I prefer to use chips because they are easier to melt. However, you can also use clarified butter. By seasoning the molds this way, you prevent the canelés from sticking to the molds. This process should be repeated regularly. I actually do it every time, although you can do it when you notice that they do not come off the molds easily. Do not wash copper molds. Wipe them with a dry towel to clean them.
Convection: if your oven has this function, you should use it for making canelés. The heat flows evenly, which helps to bake them equally.
Prepare the Batter: you need to plan in advance, because it is necessary to wait 24 hours for the gluten to rest so that the canelés rise straight up.
Directions – How to Make Canelés
Prepare your molds and make the batter the day before you want to bake the canelés. The method described here is used for copper molds.
Prepare the Molds
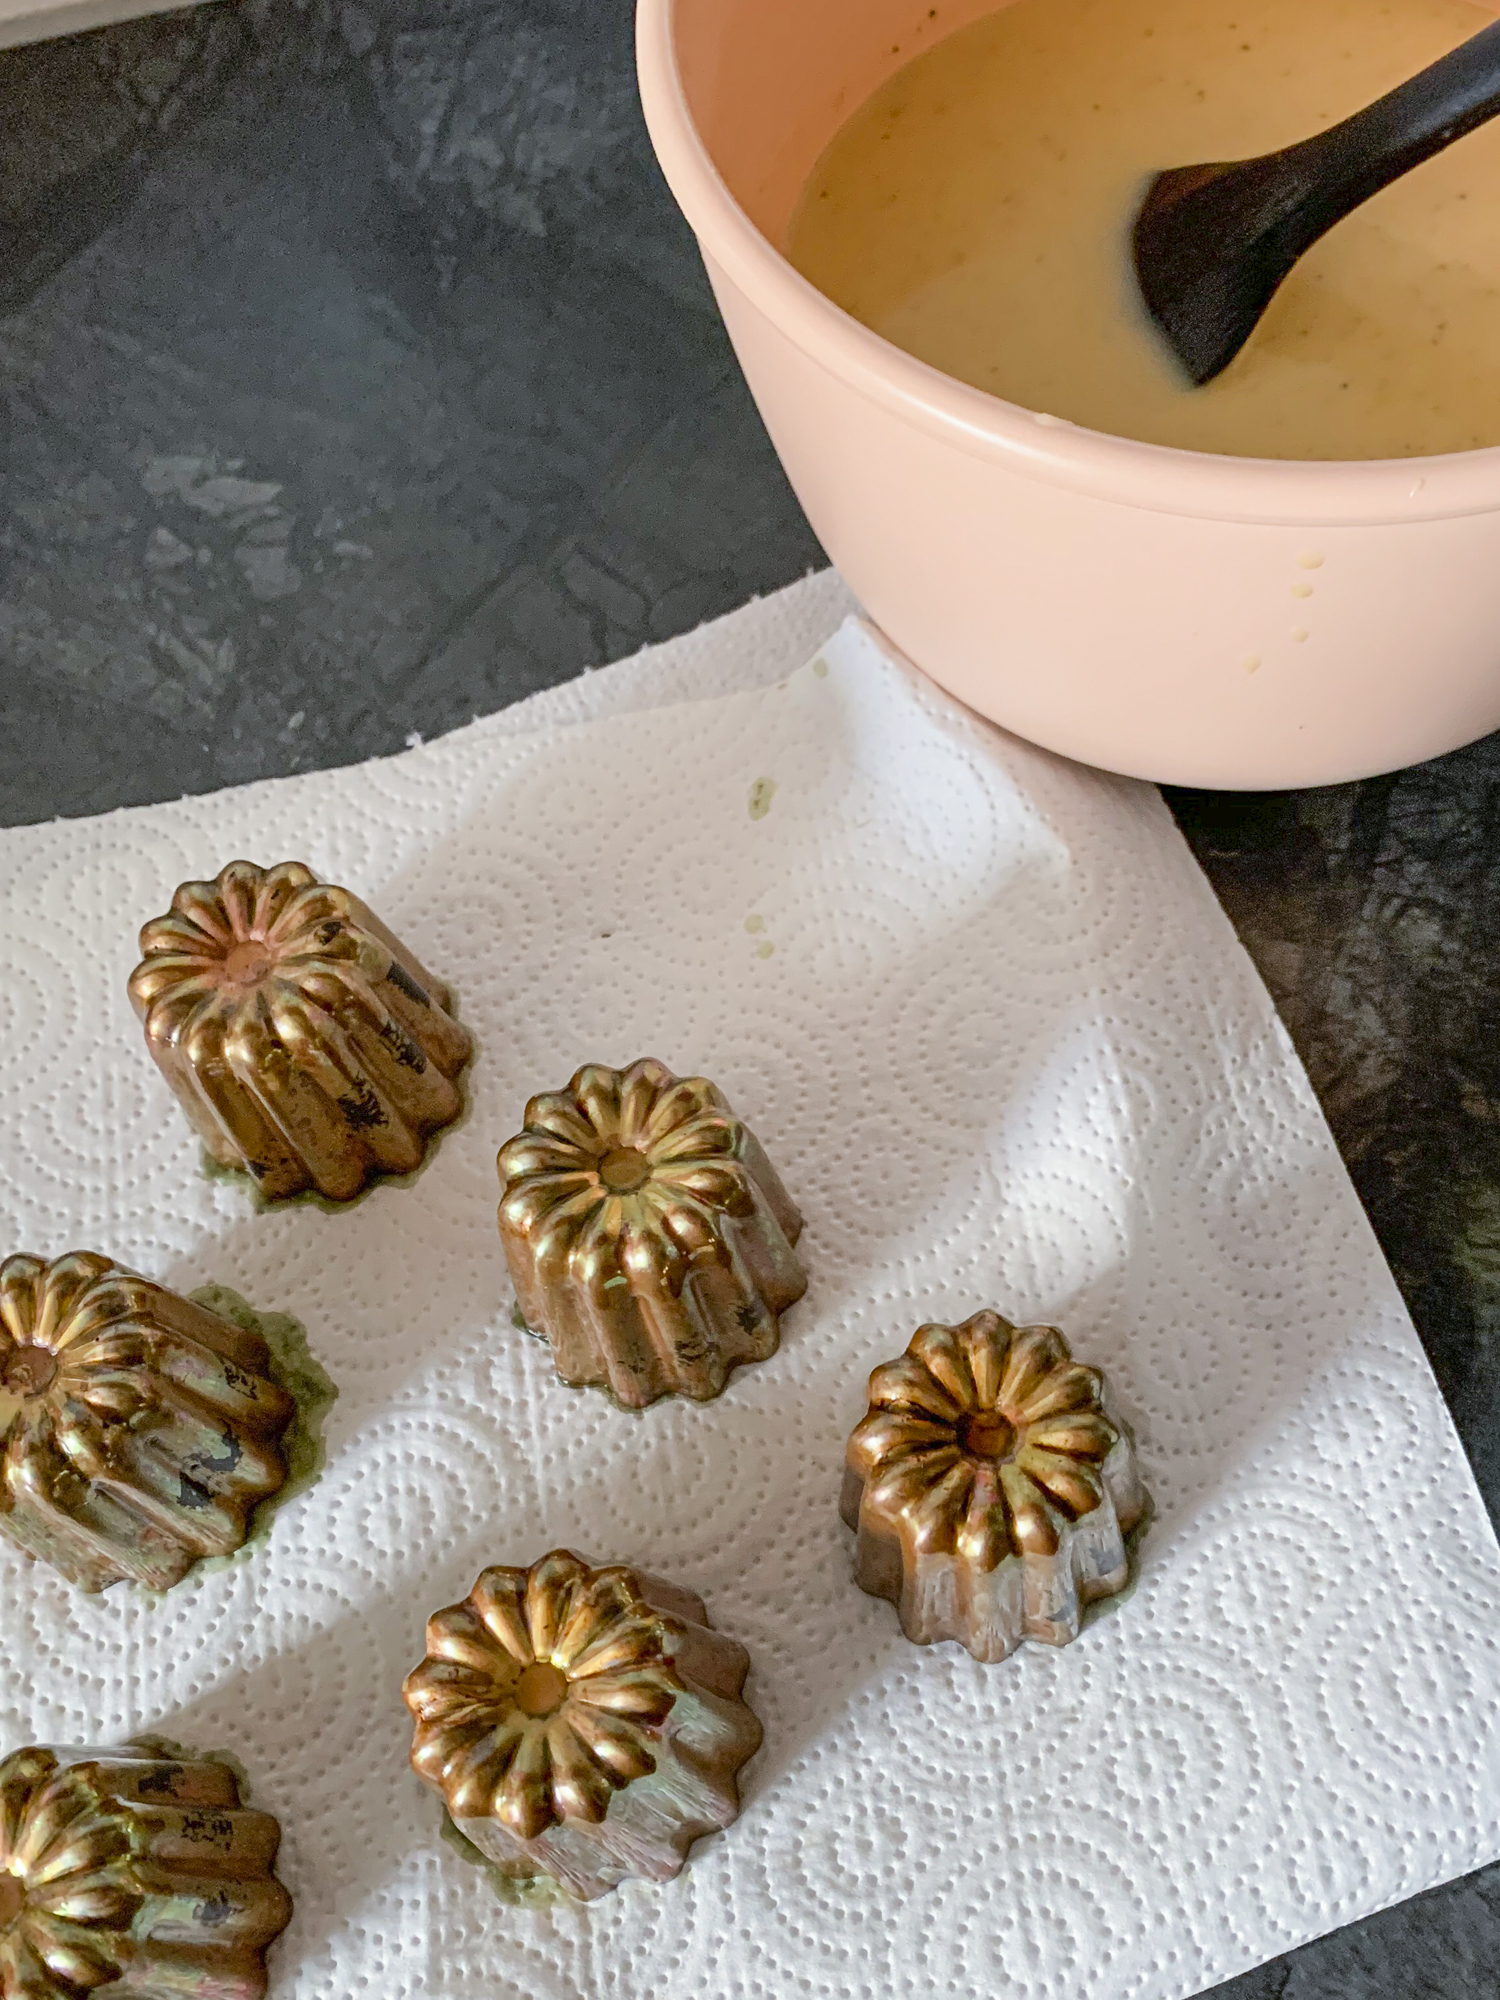
Preheat the oven to 205°C / 400°F for conventional or 190°C / 375°F for convection. Melt beeswax in the microwave at 30-second intervals and stir in between. Brush the molds with melted wax and place them in the oven for 10 minutes. Remove from the oven and flip them over on a wire rack so that excess wax can run off. Once the molds are cold, repeat this process two more times.

Make the batter
Start by weighing all your ingredients.

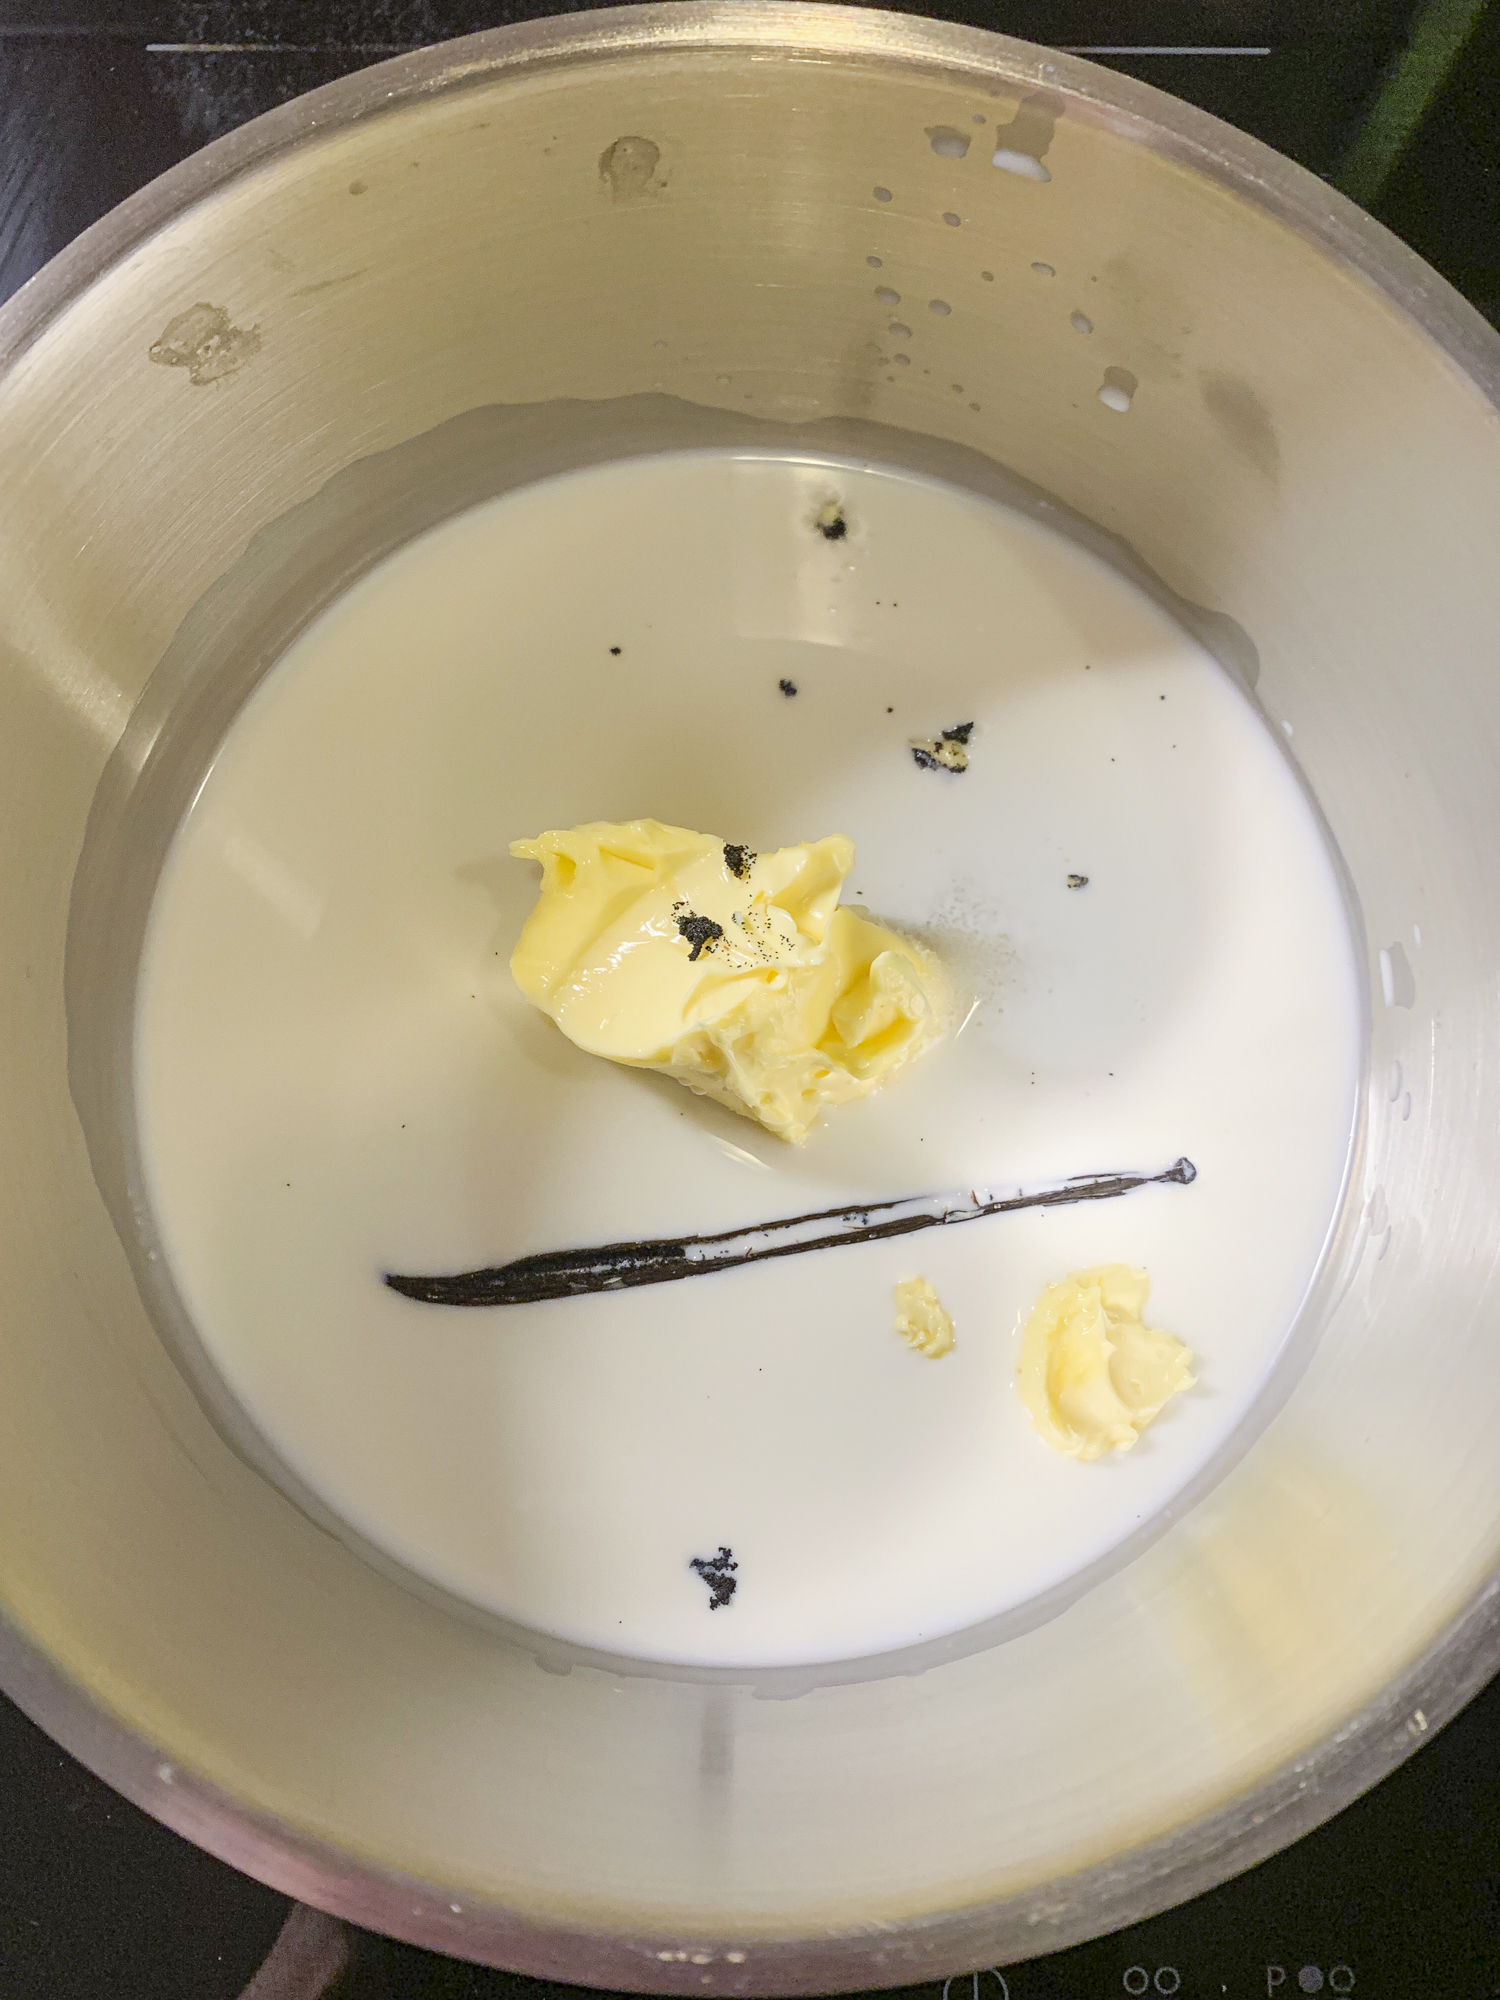
Add 160 ml milk, butter, vanilla and 20g sugar in a medium saucepan and bring to a simmer over medium heat. Remove from the heat and let it cool to 38°C / 100°F or until it is lukewarm to the touch.


Beat together the eggs and whisk in until they are incorporated. Stir in the rum and the rest of the milk.

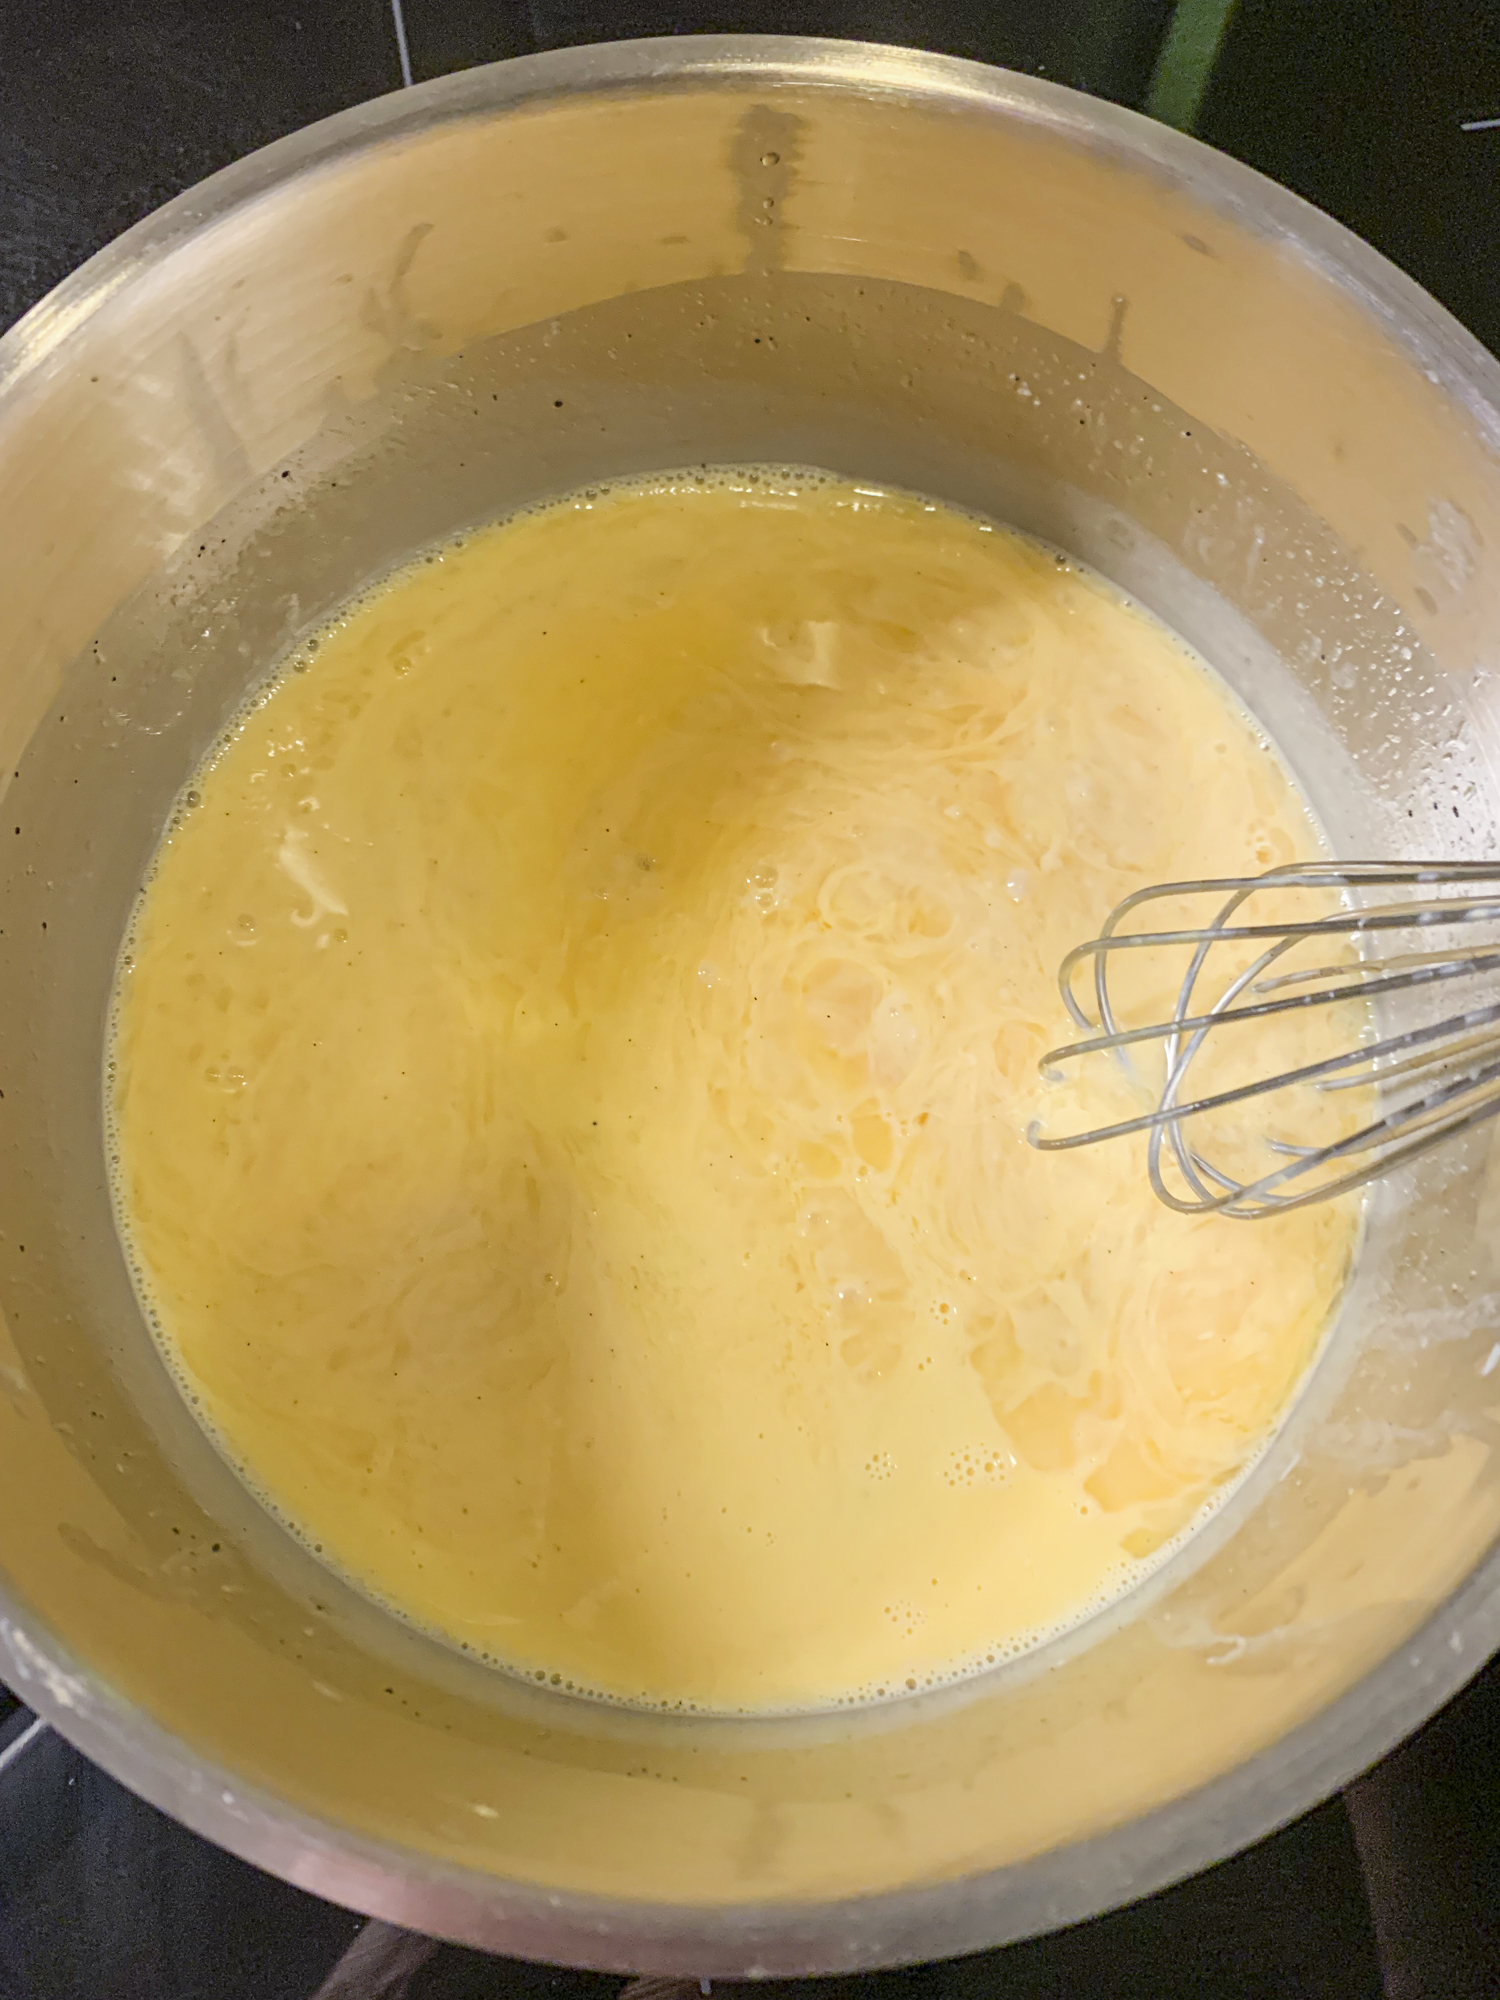

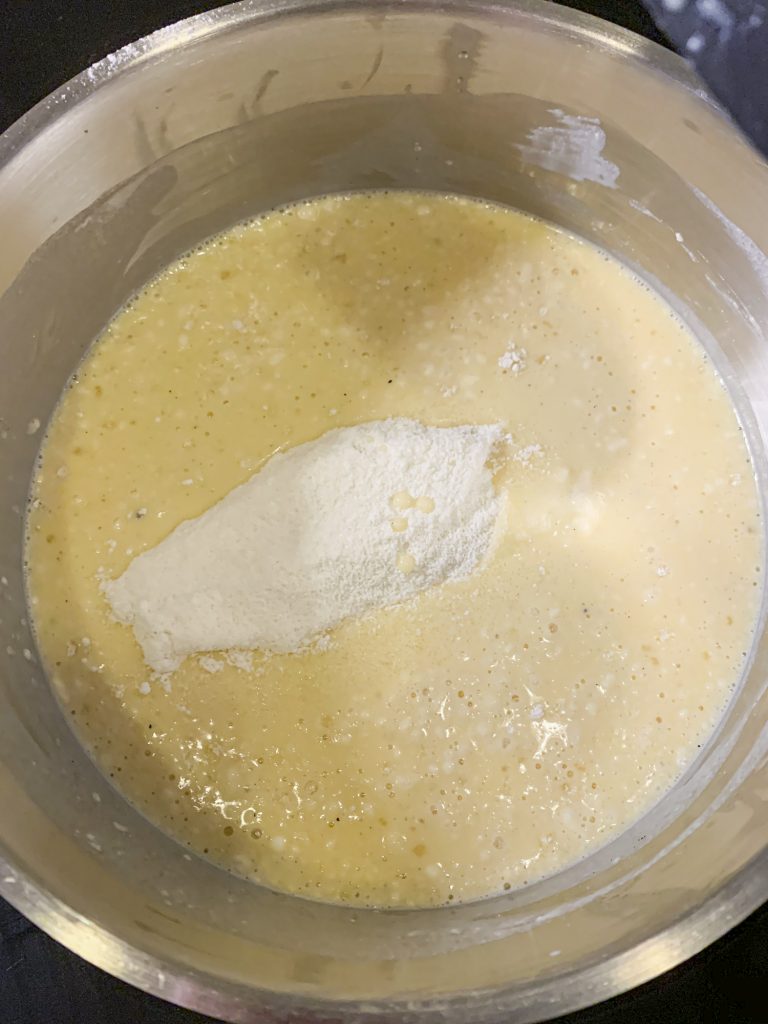
Mix flour, remaining sugar and salt in a bowl. Add to the liquid in thirds, scraping the sides and bottom of the bowl between each addition. Do not overmix. The batter should have the consistency of heavy cream.

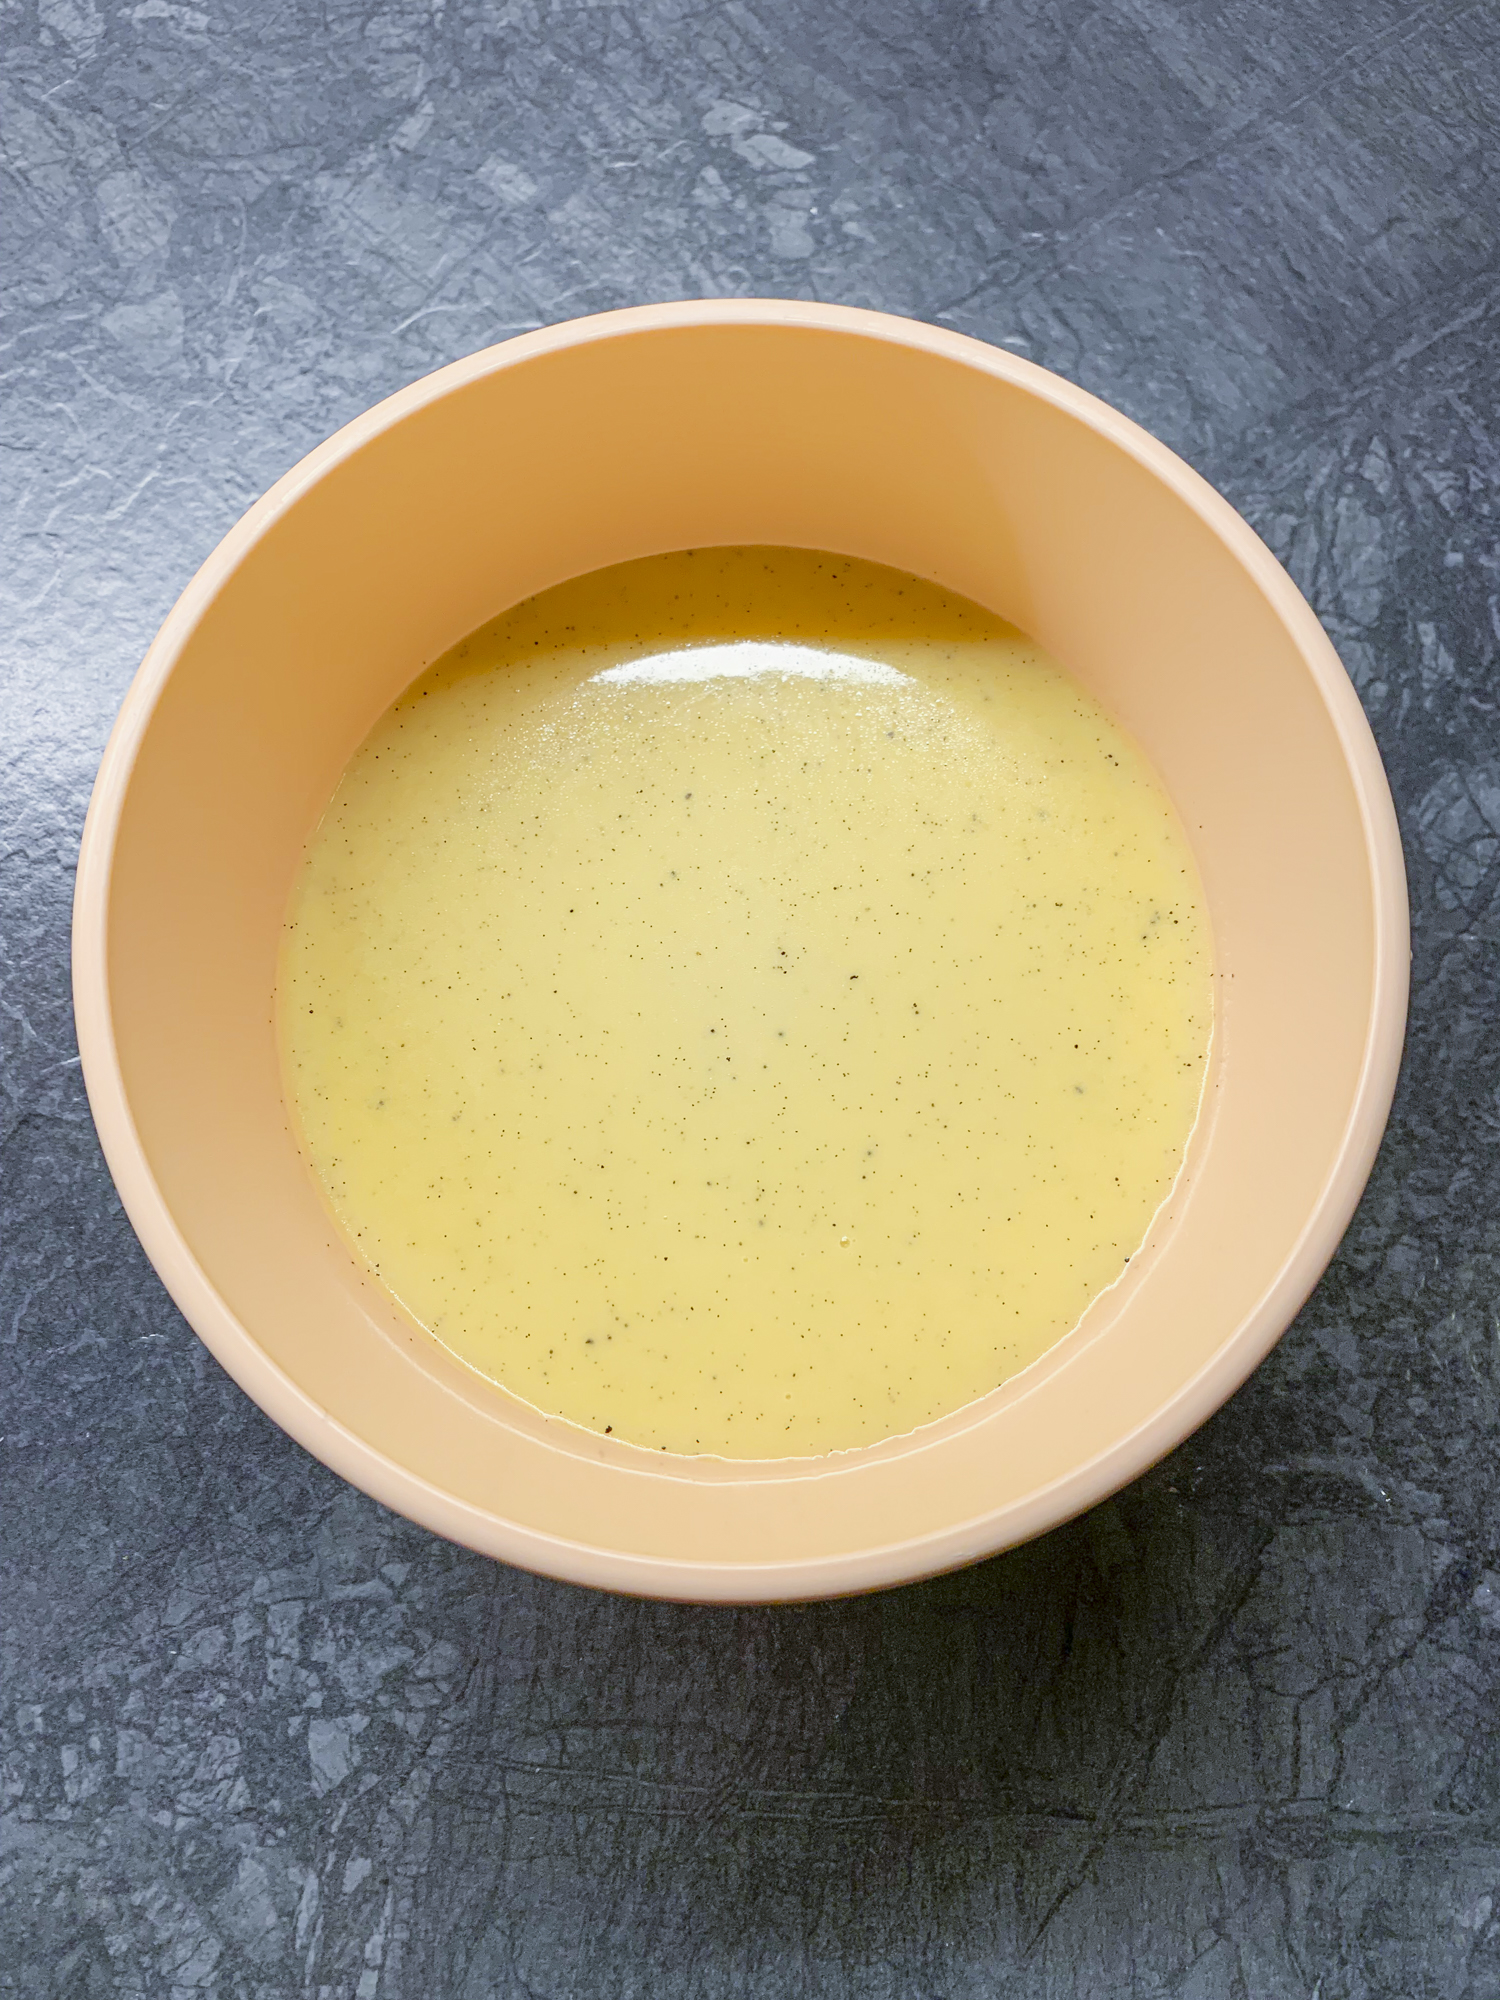
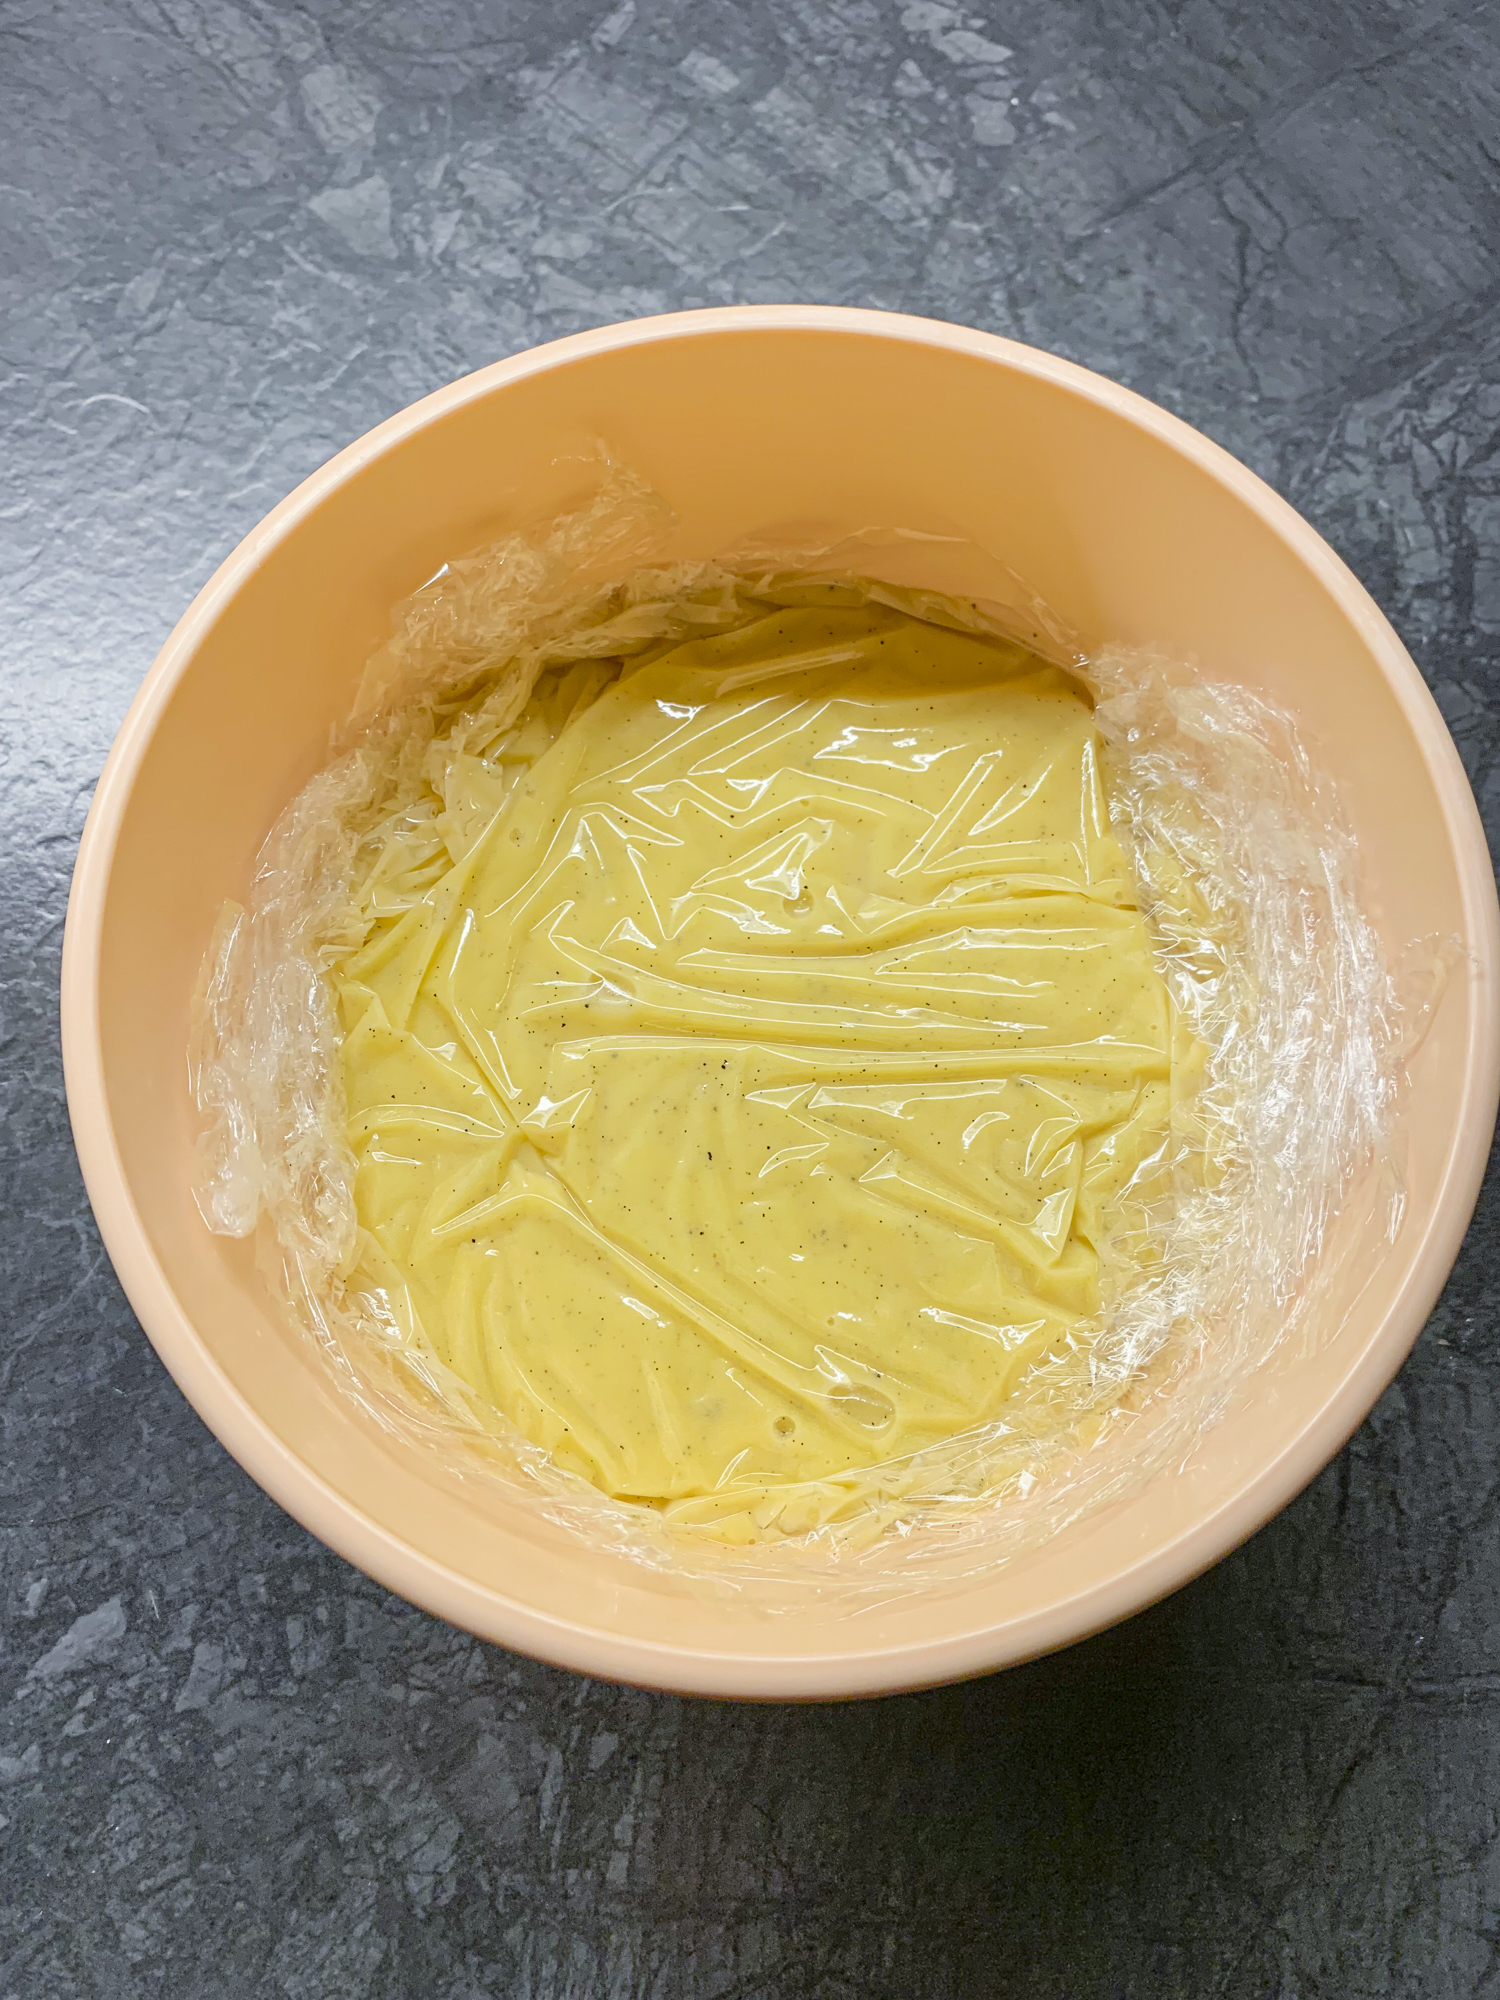
Strain the batter through a sieve into an airtight container and press plastic foil straight onto the surface to prevent a skin from forming. Close the lid and chill in the fridge overnight to let the batter rest.

Bake the Canelés
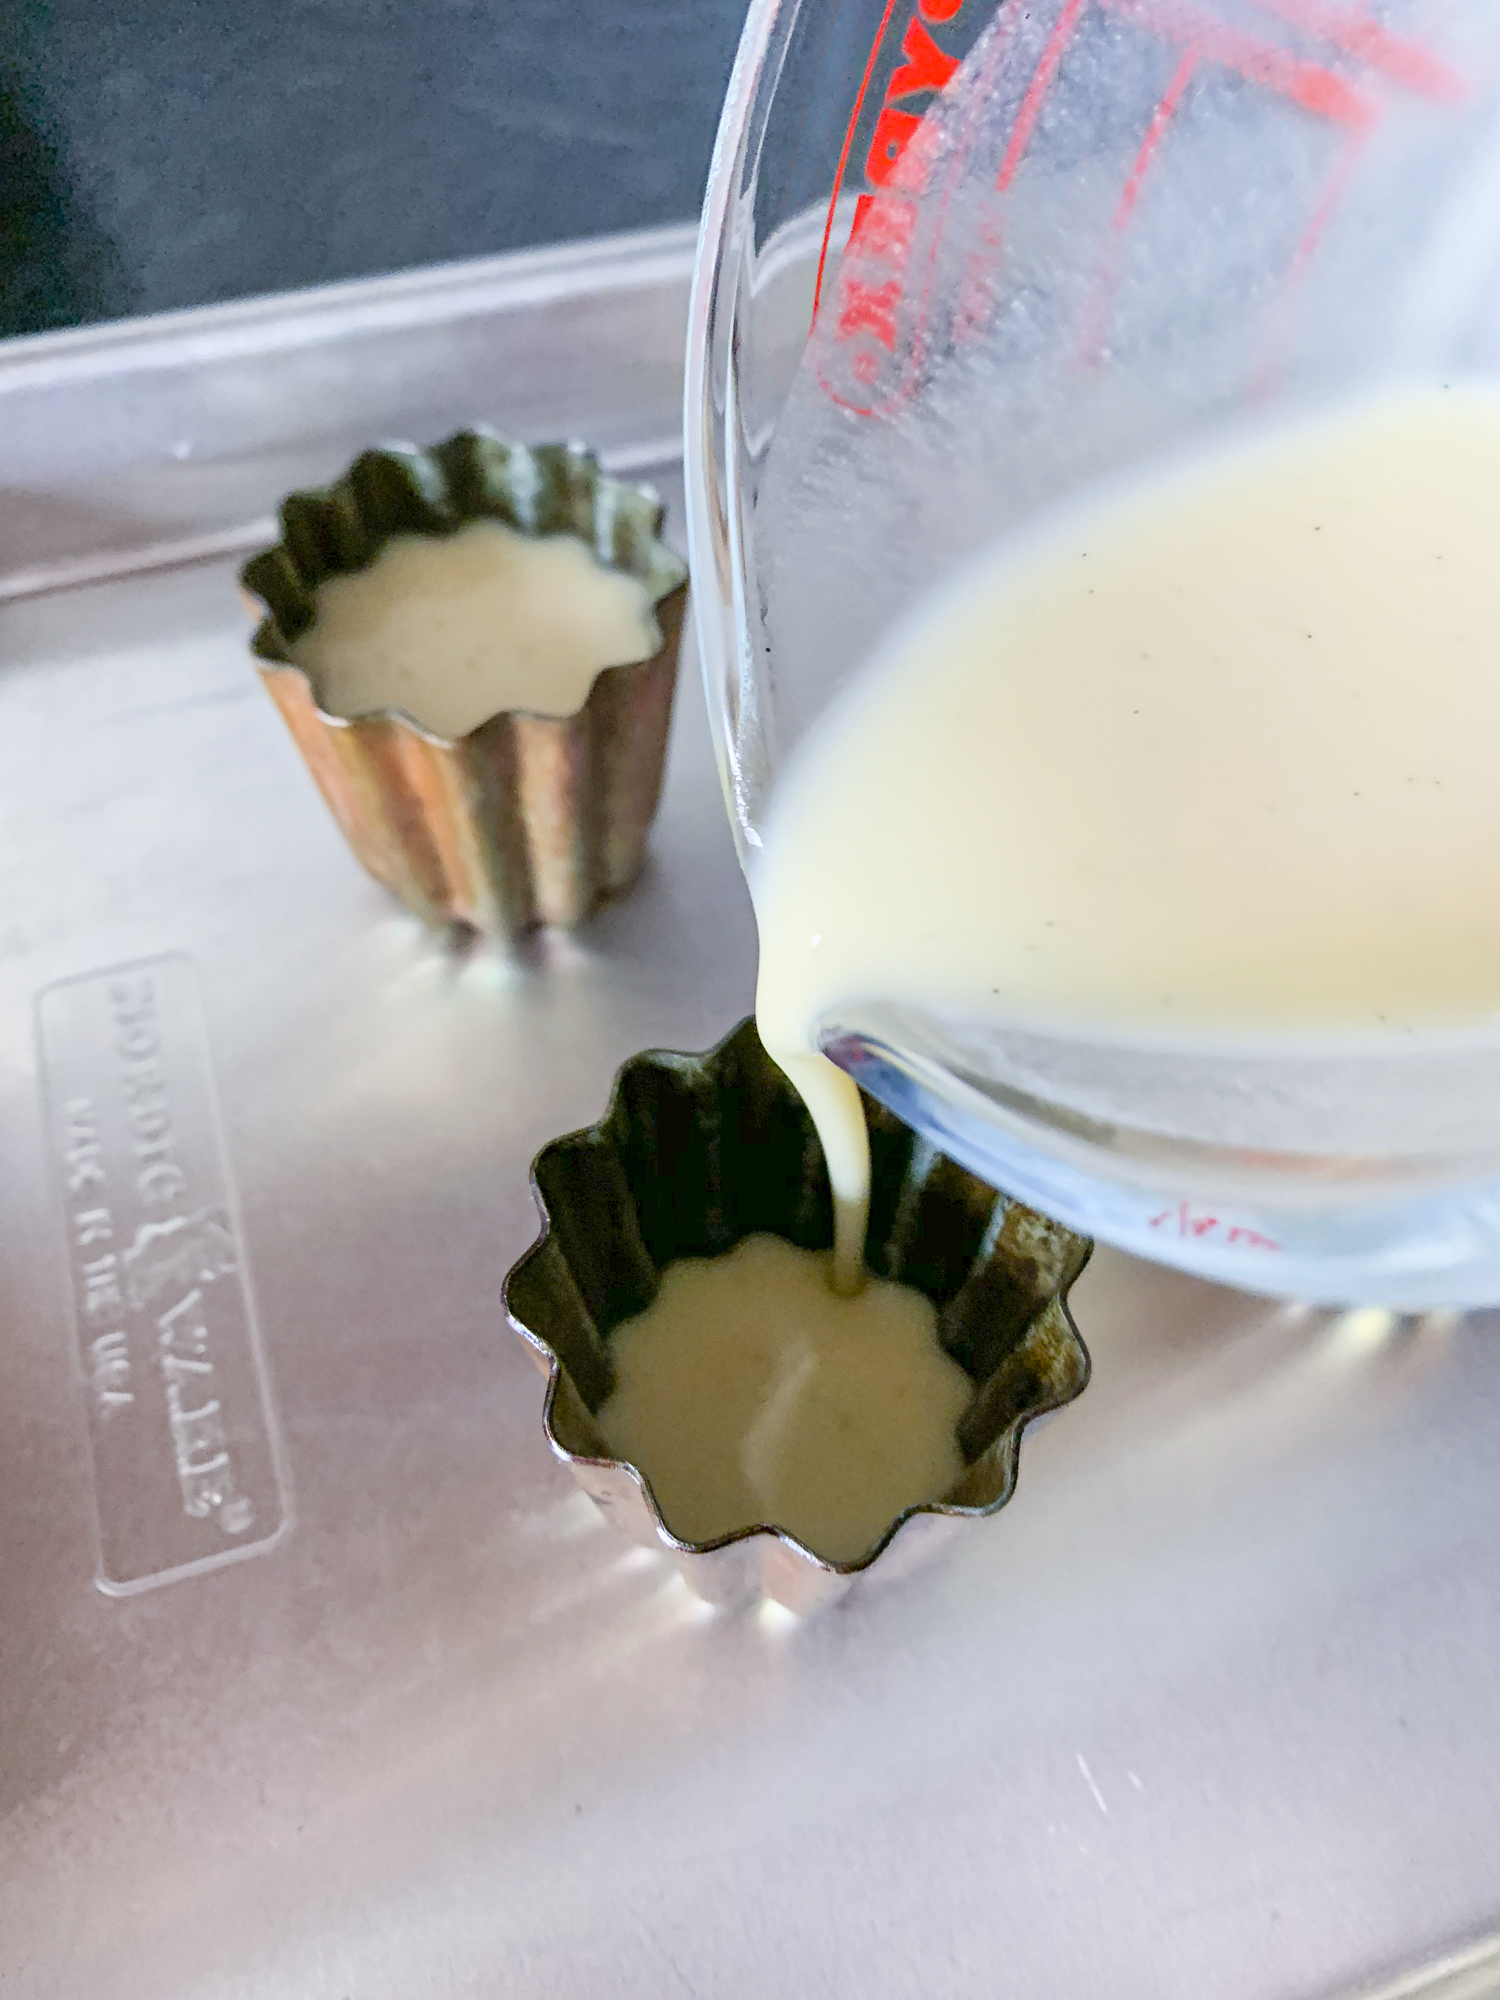
Preheat the oven to 230°C / 450°F for conventional or 220°C /425°F for convection. Warm the prepared molds in the oven for 5-10 minutes. Mix the batter gently to recombine ingredients that may have settled overnight. Place the molds on a baking sheet, fill them with batter and make sure to leave 0,5 cm / 0,25-inches at the top – while baking the canelés rise slightly and then sink.

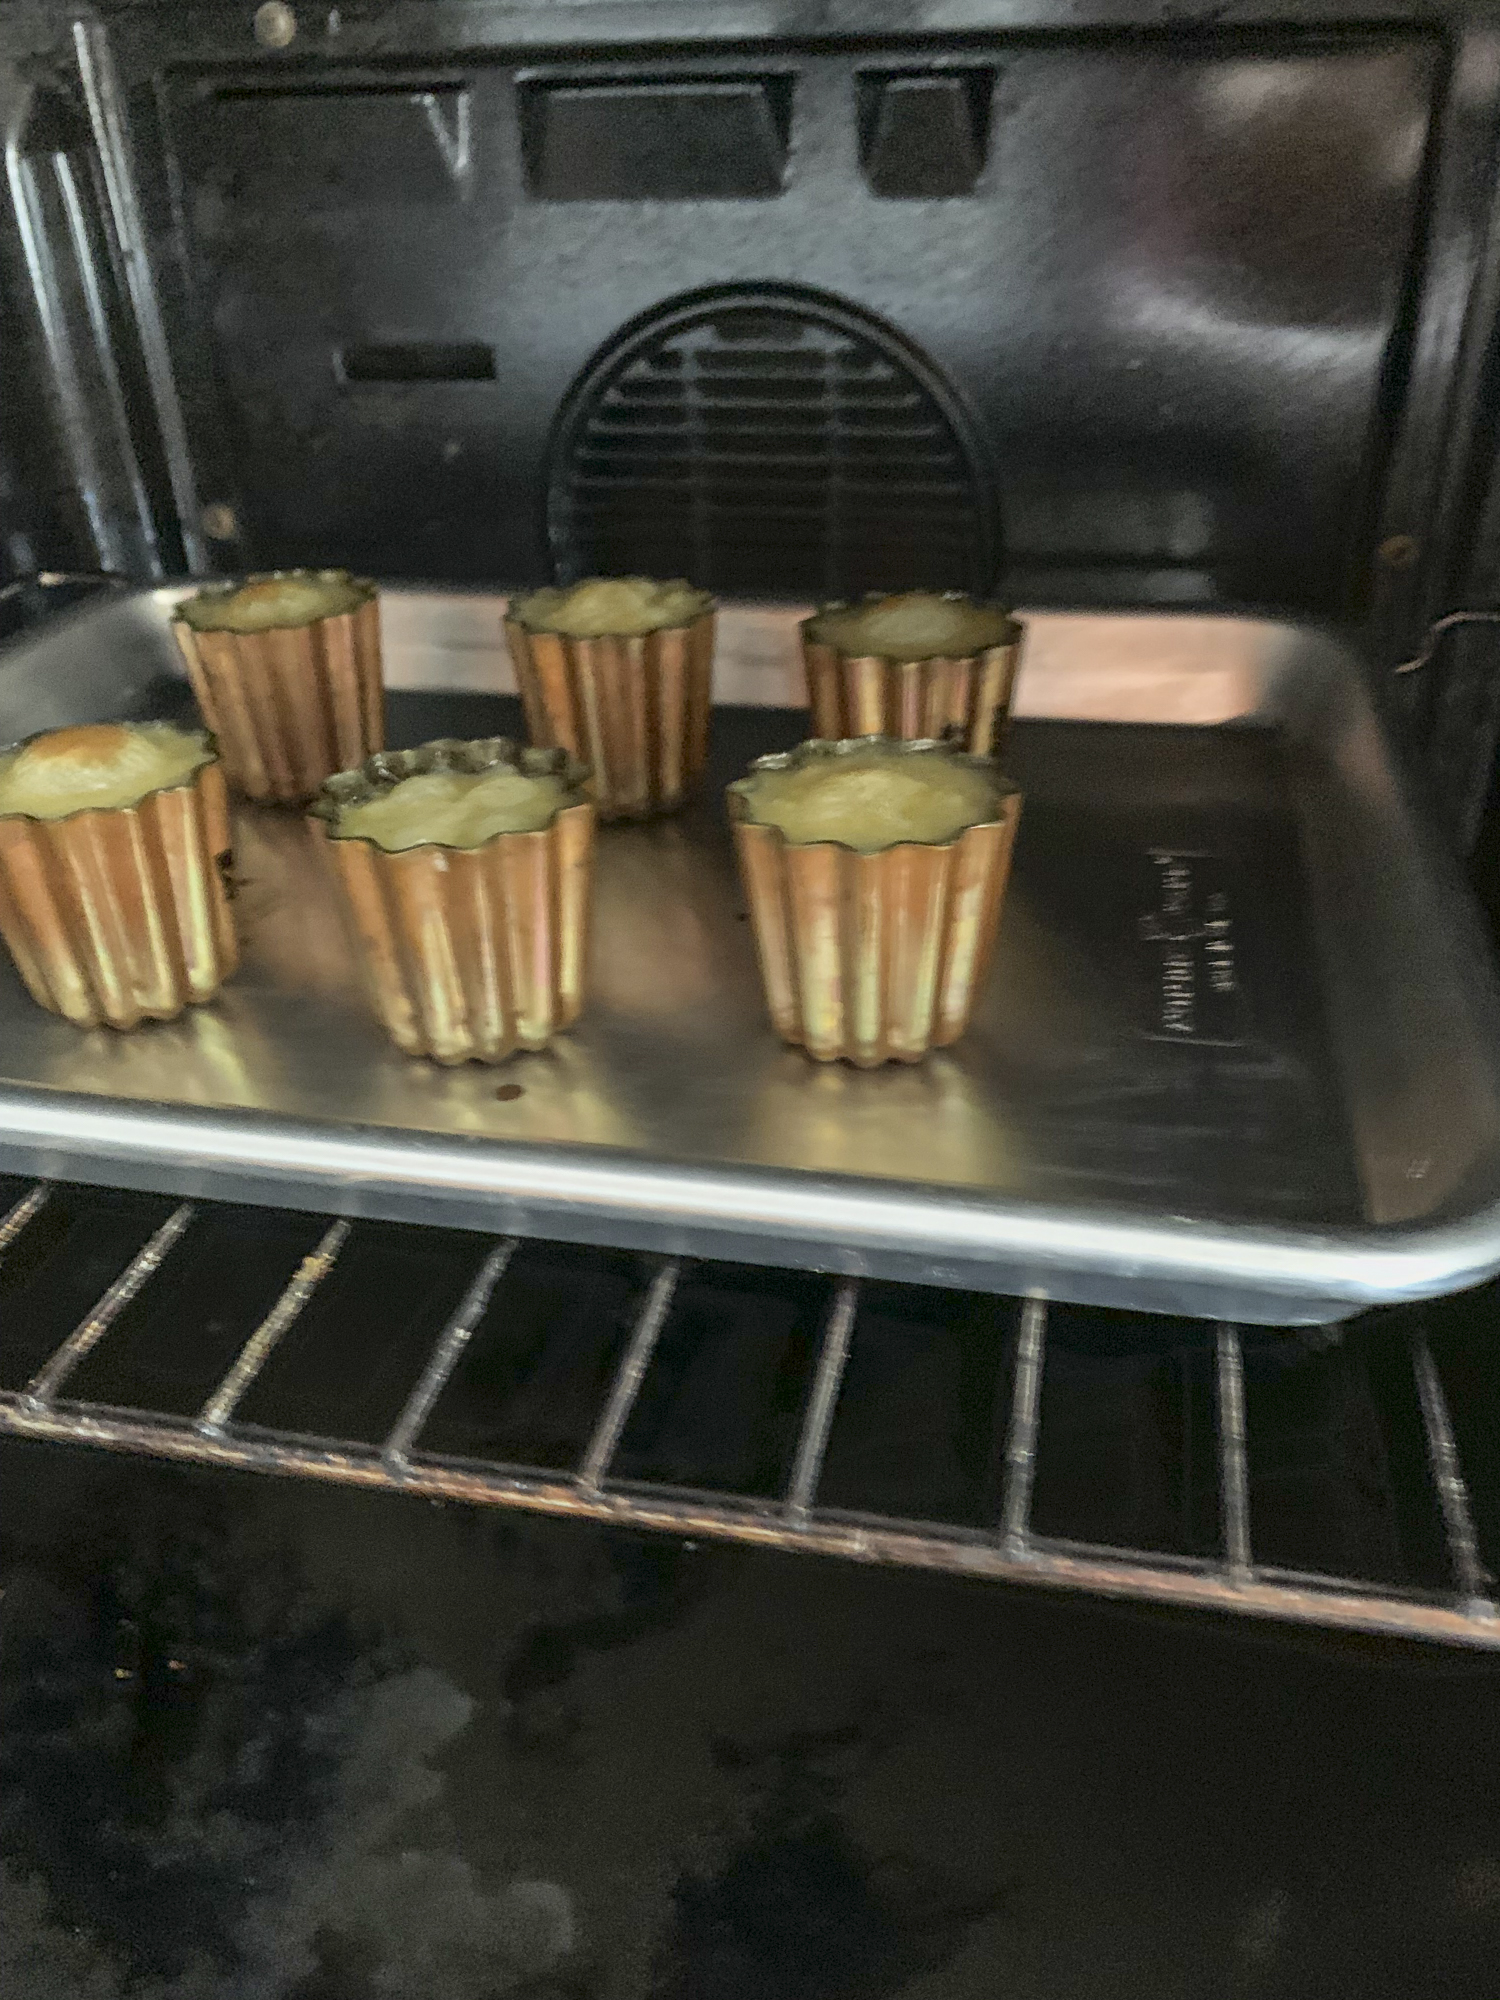
Bake for 10-15 minutes on the center rack. Rotate the sheet by 180 degrees, reduce the oven temperature to 175°C/350°F for conventional or 160°C / 325°F for convection and bake for another 30-40 minutes. Keep an eye on the color of the canelés during the last minutes, they should have a deep maple syrup color.


Remove the canelés from the oven and let them sit for 10 minutes. Turn the molds upside down and gently tap the base until the canelés drop out. Let them cool completely on a wire rack before serving.


Storage: Canelés are best the day they are made. You can keep the batter in an airtight container with plastic wrap pressed directly onto the surface in the fridge for up to five days.
My Summary for Canelés
Difficulty: intermediate, due to the baking process.
Taste: they are sweet and have a nice taste of vanilla. You will not notice the rum a lot, it is more a very light hint of rum.
Texture: Canelés have a caramelized crust on the outside, which gives them a very crunchy texture. They are aromatic, moist and soft inside.
PROS: this french pastry is definitely something special and tastes great.
CONS: you have to plan ahead and you should eat the canelés on the first day, because unfortunately they don’t stay fresh and crunchy for long. Baking can be a bit of a challenge. Sometimes the batter rises too high at the beginning and you have to take the molds out of the oven several times until the batter sinks again, otherwise the canelés won’t caramelize at the bottom.


2 comments
Great post, can’t wait for more
Thank you so much. I really appreciate this ❤️!